By Katherine Meeten and Andrew Hales
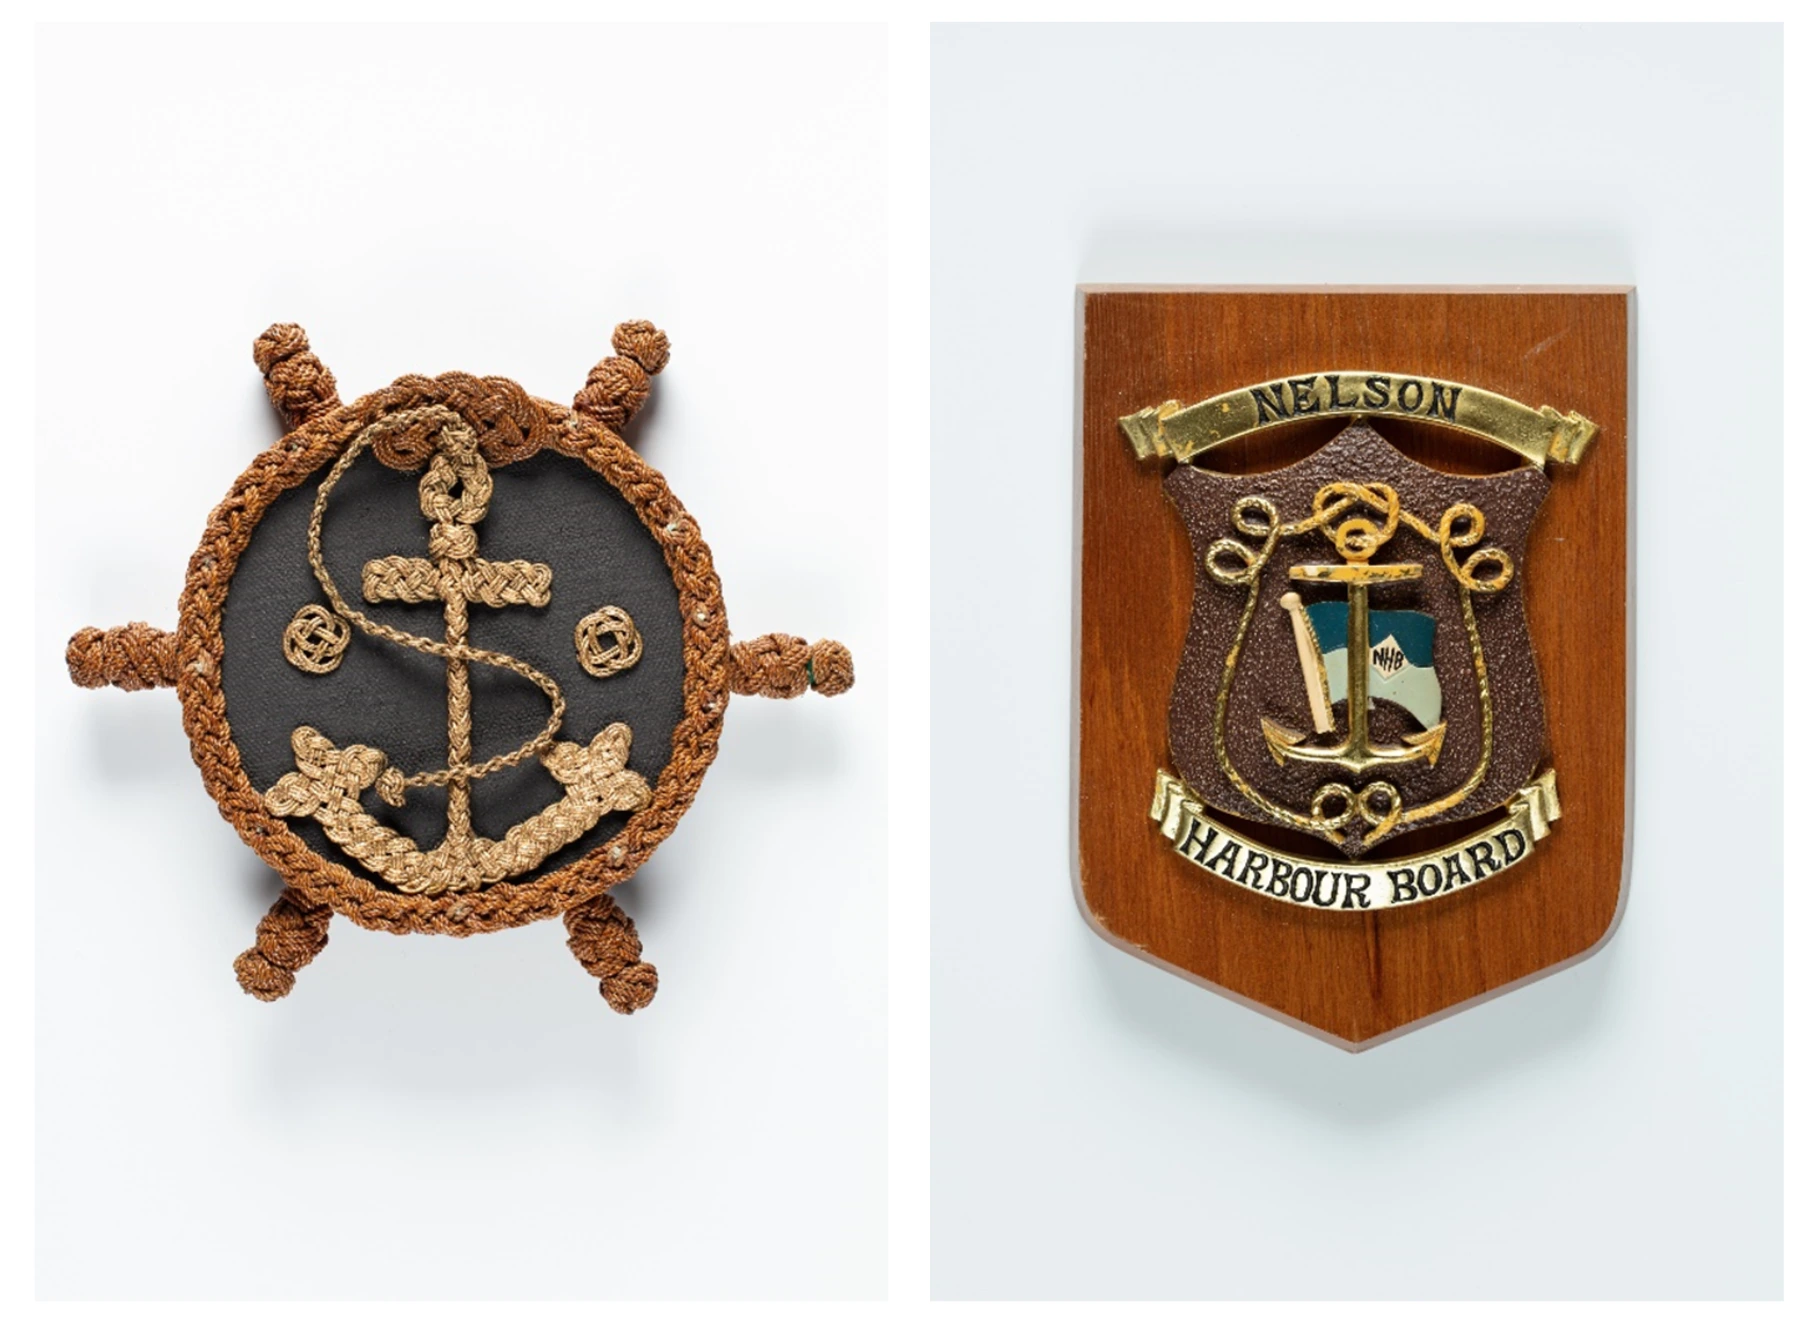
Object Type or Collection: Shields and Plaques
Number of Lights: 2 constant LED lights flashes
Lenses Used: 24-70mm, 50mm, 100mm macro
Brief Summary
A variation of the setup used for Archives, lights have been moved and adjusted to produce some contrast, show a clean background, and minimise reflections from shiny parts of the objects. This could also be used for flat art or objects with a high level of surface relief.
Note the changes to the position of the lights from the Archive Setup, the different background material and change in light size by flagging the Softboxes to reduce reflections. Used for wall hung shields and plaques with reflective and non-reflective surfaces, these are generally flat objects with deep texture and dimensionality.
Used for top-down shots.
Set up with standard white paper backdrop or white PSP panel (also known as Acrylic Composite Material, ACM, or sign board).
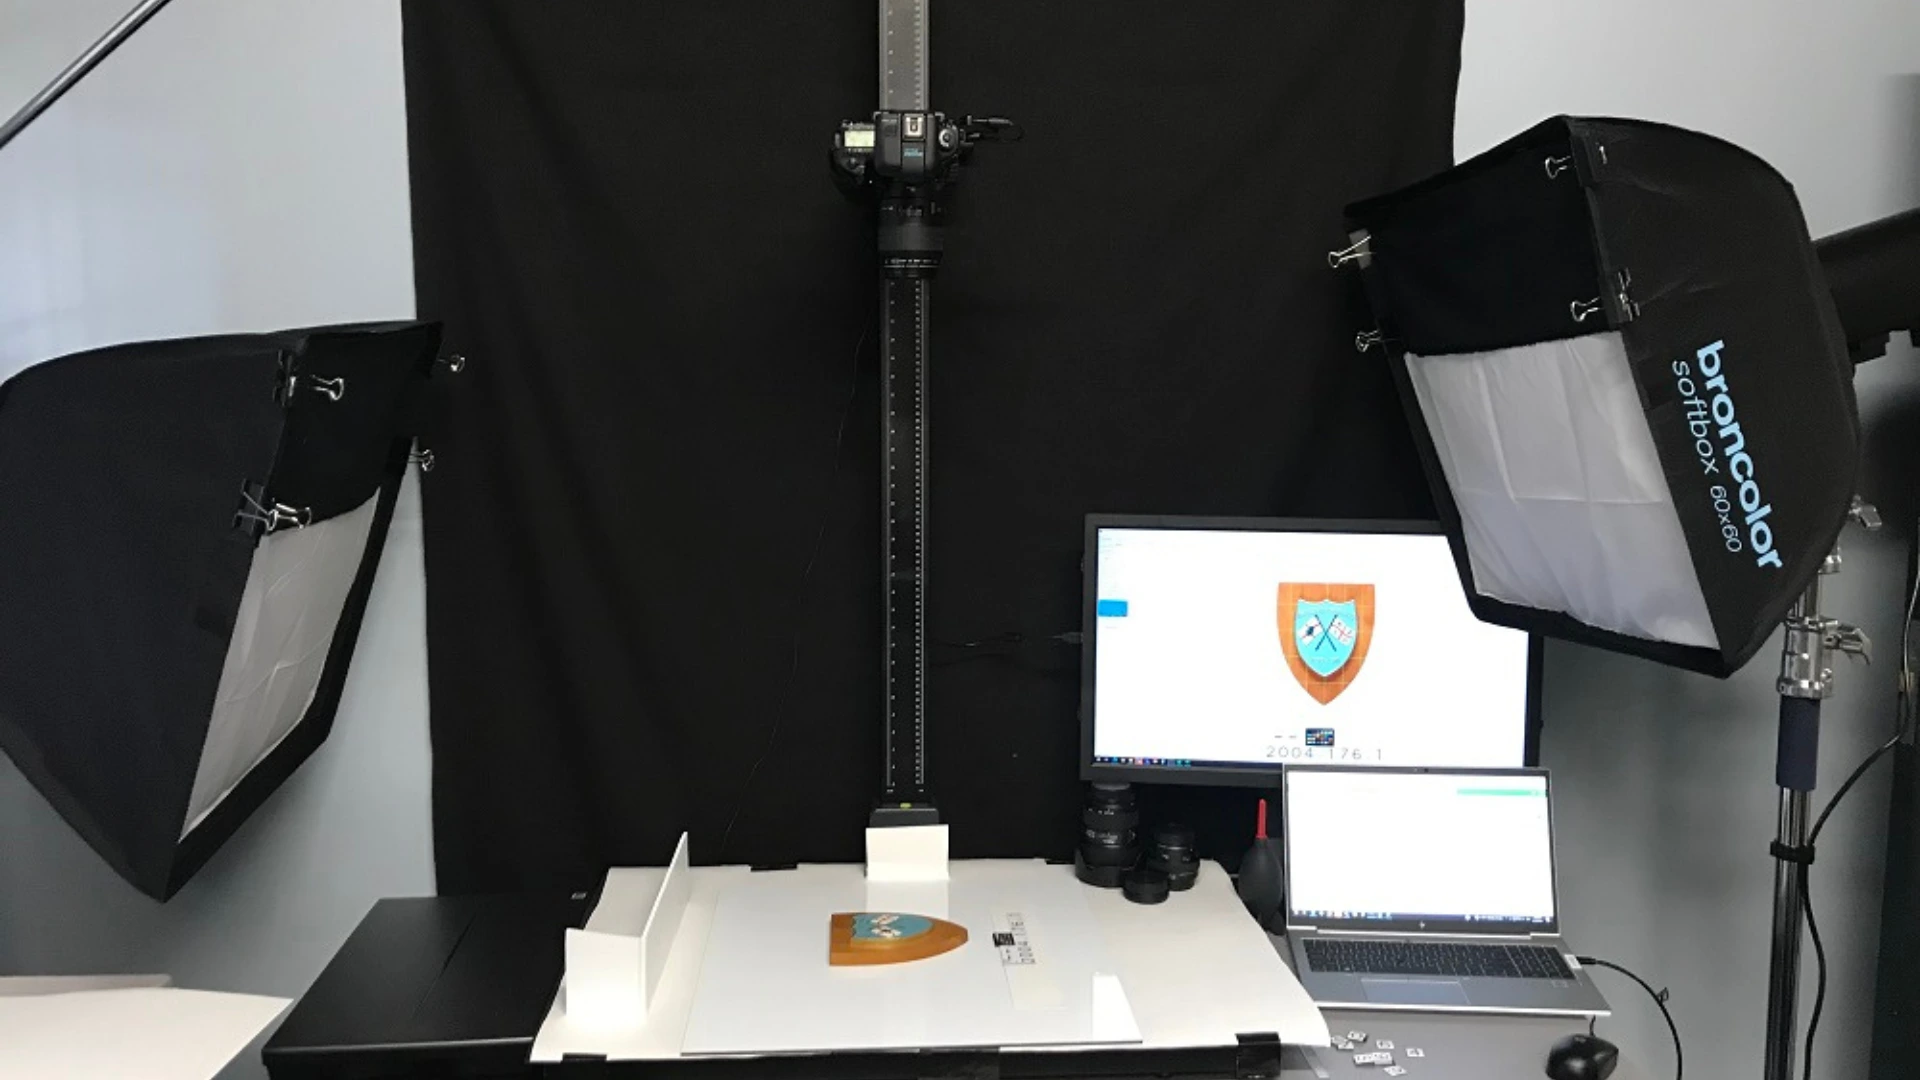
Two 60x60 Softboxes are set up either side of the copy stand, both with black fabric pinned across the top third. Each light is angled to directly light the object. The left Softbox sits lower and closer to the desk than the right Softbox. This helps create some contrast with shadows. LED panel lights, or Kaiser copy stand lights could also be used in the same way.
Example image
Lighting set up
-
Two 60x60 Softboxes either side of copy stand. Smaller lights would work better and would not require flags (covering a portion of the light). Left Softbox remains hanging from C stand, connected by grip arm, 2 grip clamps, and short arm; referred to in previous setup guides.
-
Left Softbox is 210mm down, 370mm across from bottom of Softbox to copy stand base
-
Right Softbox is 460mm down, 420mm across from bottom of Softbox to copy stand bench top. C stand is situated just inside door range to allow use of the door.
-
Both Softboxes are angled down towards the centre of the copy stand and have their top third flagged by black fabric doubled over.
-
Light outputs are offset due to closer proximity of left light to the object.
-
A sheet of white paper around the camera lens (not pictured) can also be used to stop the ceiling reflecting in shiny surfaces. Not all objects require this to be in place.
-
The top third of both Softboxes have been covered with a double layer of black cotton fabric. This reduces the range of light dispersal, making for a more controlled lighting area.
-
Fabric is held in place by four foldback paper clips.

-
Objects are photographed on a sheet of white PSP panel to gain the desired effect, could also be done on white paper background as well.
-
White card is propped up to bounce light back onto the top of the object for a more even display of light and shadow.
