By Andrew Hales
Object Type or Collection: Transmissive Photographic Media (Slides, Glass Plates, Film etc).
Number of Lights: Kaiser Lightbox
Lenses Used: 100mm macro
Brief Summary
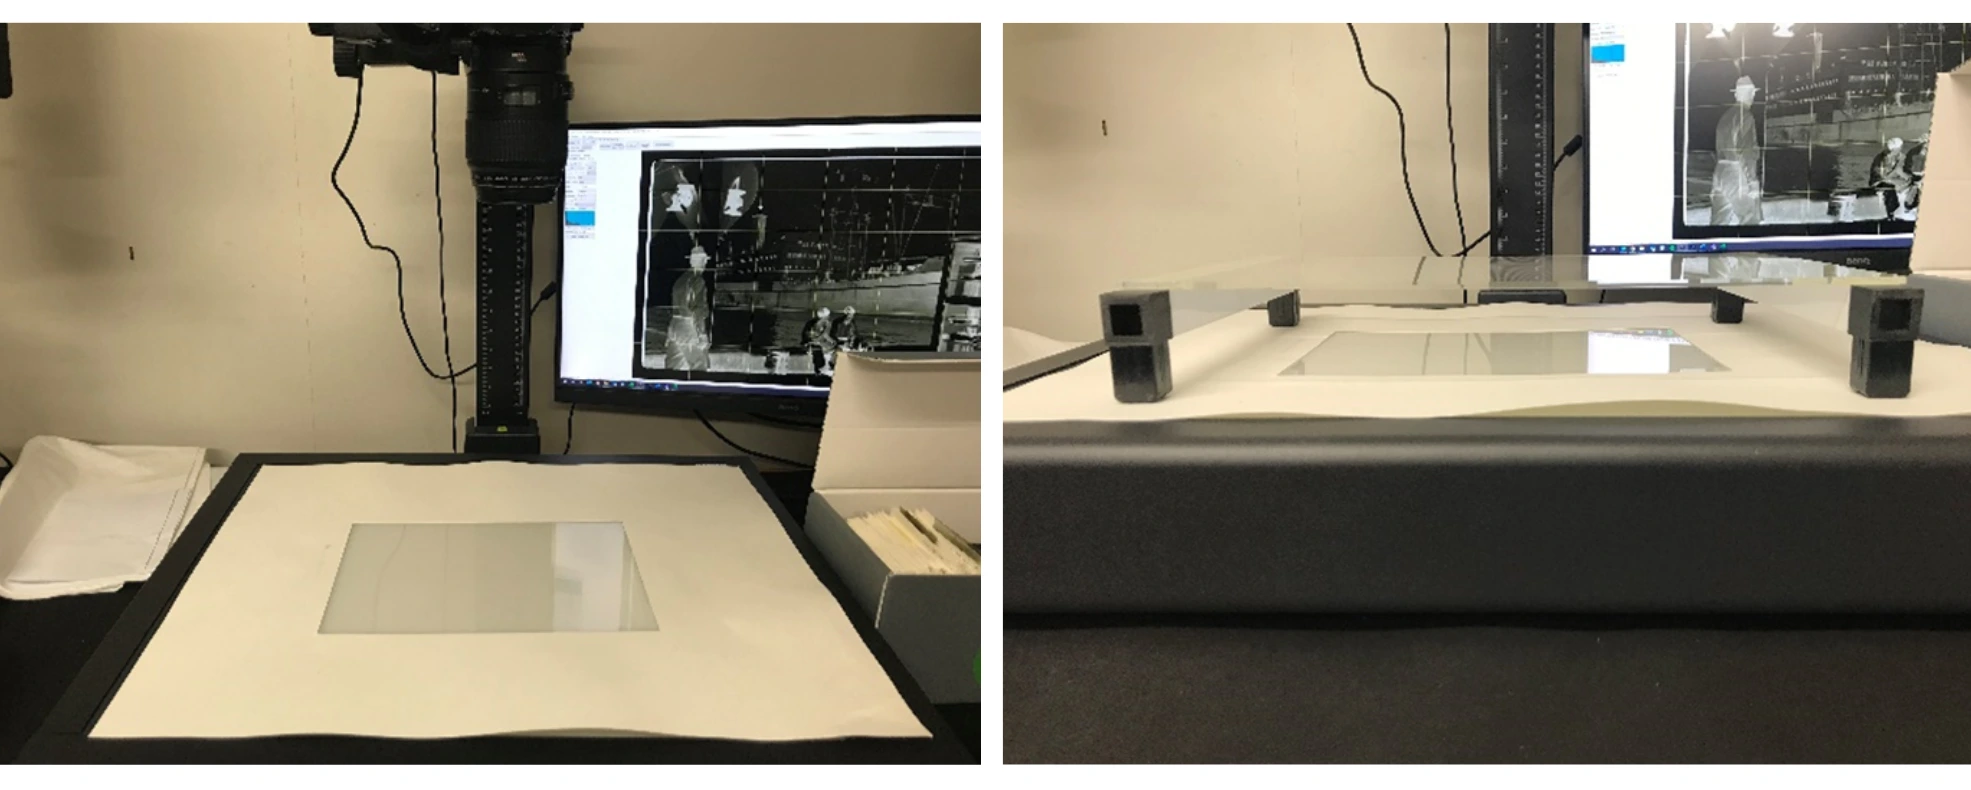
We used this set up for capturing Glass Plates and 120mm negatives. Shot on a lightbox using a frame and two masks. One mask blocks out the lightbox light apart from a section in the centre, and the other mask frames the negative. A frame raises the area of work so that the negatives are not sitting directly on top of the lightbox.
This is a variation of our copy stand setup used at our collection storage facility and uses the copy stand column that is bolted to the desk. The camera is actuated with a foot pedal and USB number pad. The same set up can be used for Glass Plates and modified for capture of any transmissive media.
Example image

Set up
First Mask
White paper mask over lightbox with a hole in the centre to allow light to come through. This first mask covering the lightbox is so the brightness can be up high without generating glare or blinding the operator.

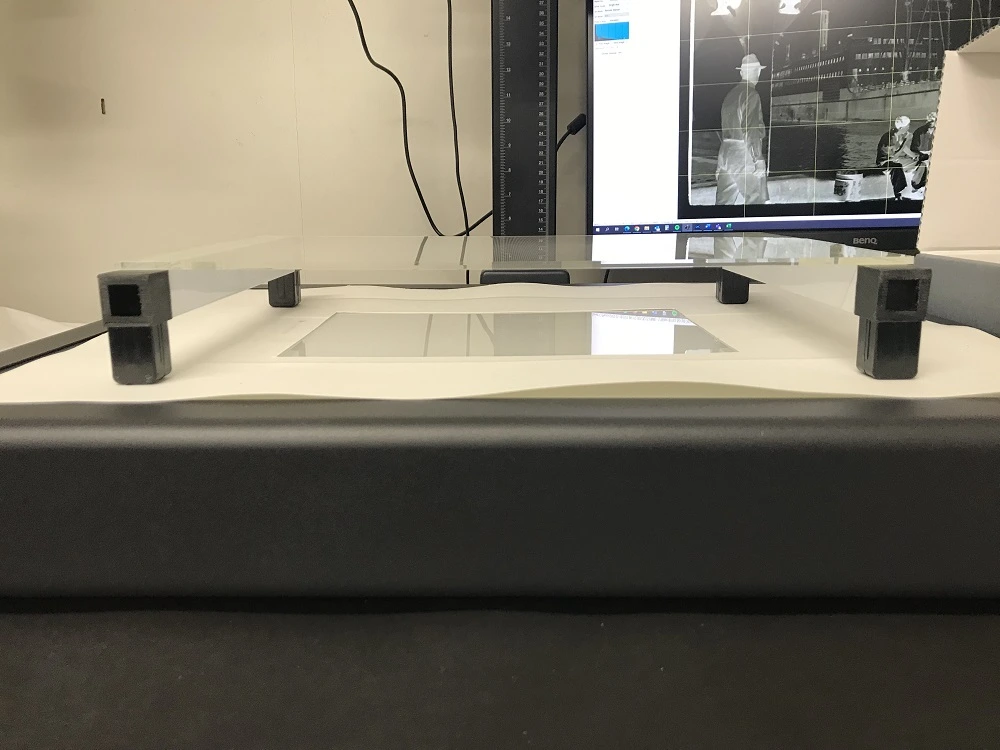
Raised Frame
The diffuser frame sits on top of the first mask on the lightbox.
Diffusion Material:

Laid over the frame is a sheet of diffusion material from an LCD computer monitor/TV screen with the matte side facing upwards.
The negative will be photographed on this diffuser frame with the second mask (the black card) being used to frame the negative.
The diffusion material was recovered from a staff members old LCD TV on its way to e-Waste.
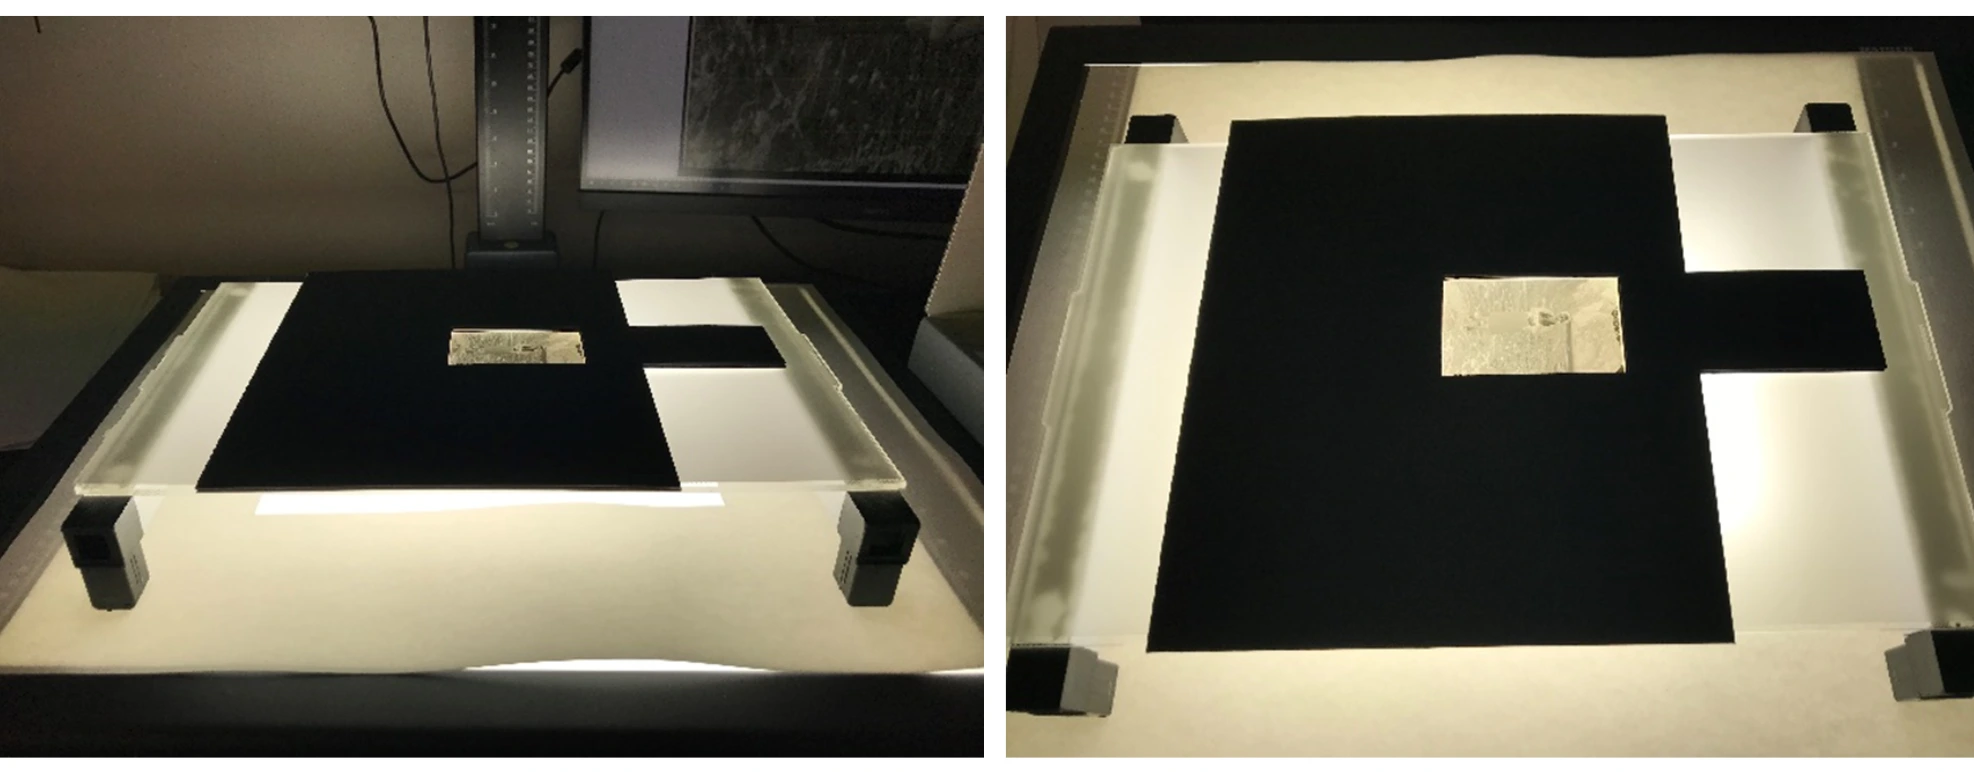
Second Mask around Negative
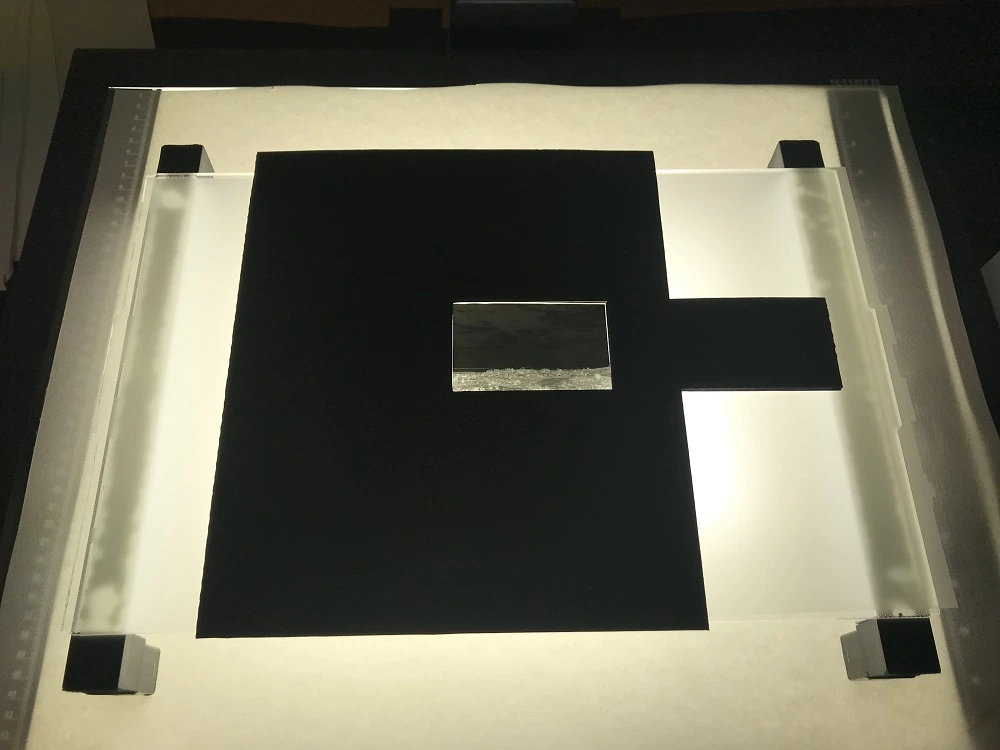
- With the negative placed on the diffuser frame, place the second mask on top, so that the negative is sitting between these two layers.
-
A thick black mask has been used to frame the negatives.
-
The thick card weighs down the negative and keeps it flat while being photographed.
-
The ‘C’ shaped card with insert allows space for one length only, you can also create two ‘L’ shaped cards to allow for different lengths of 120mm film to be framed up.
-
These masking cards should be made to fit the film format that is being captured.
-
Capture with emulsion side (shiny side) facing up, towards the camera.
Guideline camera settings used:
- Shutter: 1/160
- Aperture: 8
- ISO: 100
- White balance: 5400K
NOTE: The heat from the lightbox causes the negatives to curl quickly, even raised on the frame. DO NOT leave them sitting on the lightbox for extended periods of time. The higher the frame is from the lightbox the less heat is transmitted to the negative, but there is less light from the lightbox reaching the camera, which will require a longer exposure. In our case, it also negatively impacts the working height of the setup.
Postproduction
- Once captured, invert the image in Lightroom Classic or Capture One.
- Under Tone Curve, change to point curve (click in the white circle). Move the top right point to the bottom right, and the bottom left point to the top left.
- This will convert the blacks to the whites and the whites to the blacks. Some negatives may need individual exposure edits, reviewed on a case-by-case basis.
