Digitisation at the Maritime Museum: Part 3

This is part three in our series on digitisation at the New Zealand Maritime Museum Hui Te Ananui A Tangaroa. The series is written from a photographer/digitisation tech viewpoint.

By Katherine Meeten | 10 December 2022

In our previous blog we covered how we use our copy stand to photograph our archive and photographic collections, which we often refer to as 2D. But we can also use the copy stand to photograph small 3D objects, especially if they are reasonably flat. We started by photographing Merchant Navy medals before moving onto larger and more complex objects.

Photographing Medals, Ribbons, and Badges

As we moved through our collection, medals and their relevant documentation were brought to the copy stand for their beauty shots. Photographing 3D objects is a creative process and requires more technical ability and knowledge from the operator. We were inventive with our lighting setup and experimented with foam blocks and card to position the medals, pins, and bars suitably on the background. To do this, we cut a slit into a block of foam allowing us to nest the bar or to insert the edge of a medal, so that the pin could lie flat, and the medal could stand on its side. To hide the foam block, a piece of white card with a corresponding slit was placed over the foam block and the object was inserted into the foam. This created the illusion that the pin or bar was flat on the background, or the medal was balanced perfectly on its side to image the edge engravings.

Photographing the medals required a change in lighting setup from that of the archive setup. We used an asymmetrical setup for the medals, ribbons, and badges. While still taking top-down shots, most objects were shot on a white background, with a 60x60 Broncolor Softbox set up on one side, and an 80x120 Godox Softbox set up on the other side. The 80x120 overhung the 60x60 in a tent-like position to reduce reflections created by the ceiling and wall fixtures (e.g., the sprinkler system and structural beams). To accompany the change in lighting setup, we opted for the 135mm TS-E macro tilt-shift lens to help battle the reflections in the shiny surfaces.

While photographing the medals and the related documentation we discovered that the leather certificate books absorbed light, making the resulting photograph dark and the edges of the books undefined from the background. To combat this, we simply changed the camera’s aperture setting. These books also did not sit flat after the first open page, requiring the glass plate (mentioned in the previous post) to keep the pages down. The medals themselves created their own challenges as we had to find creative ways to hide everything that was being reflected in their shiny surfaces. The main fixes included the overlapping softboxes and a piece of white card attached over the lens to hide the camera body. We also used the TS-E lens to shift the field view from directly underneath the camera and away from the reflection of the lens. It required experimentation and the occasional piece of white card held up at the right angle to remove odd reflections.

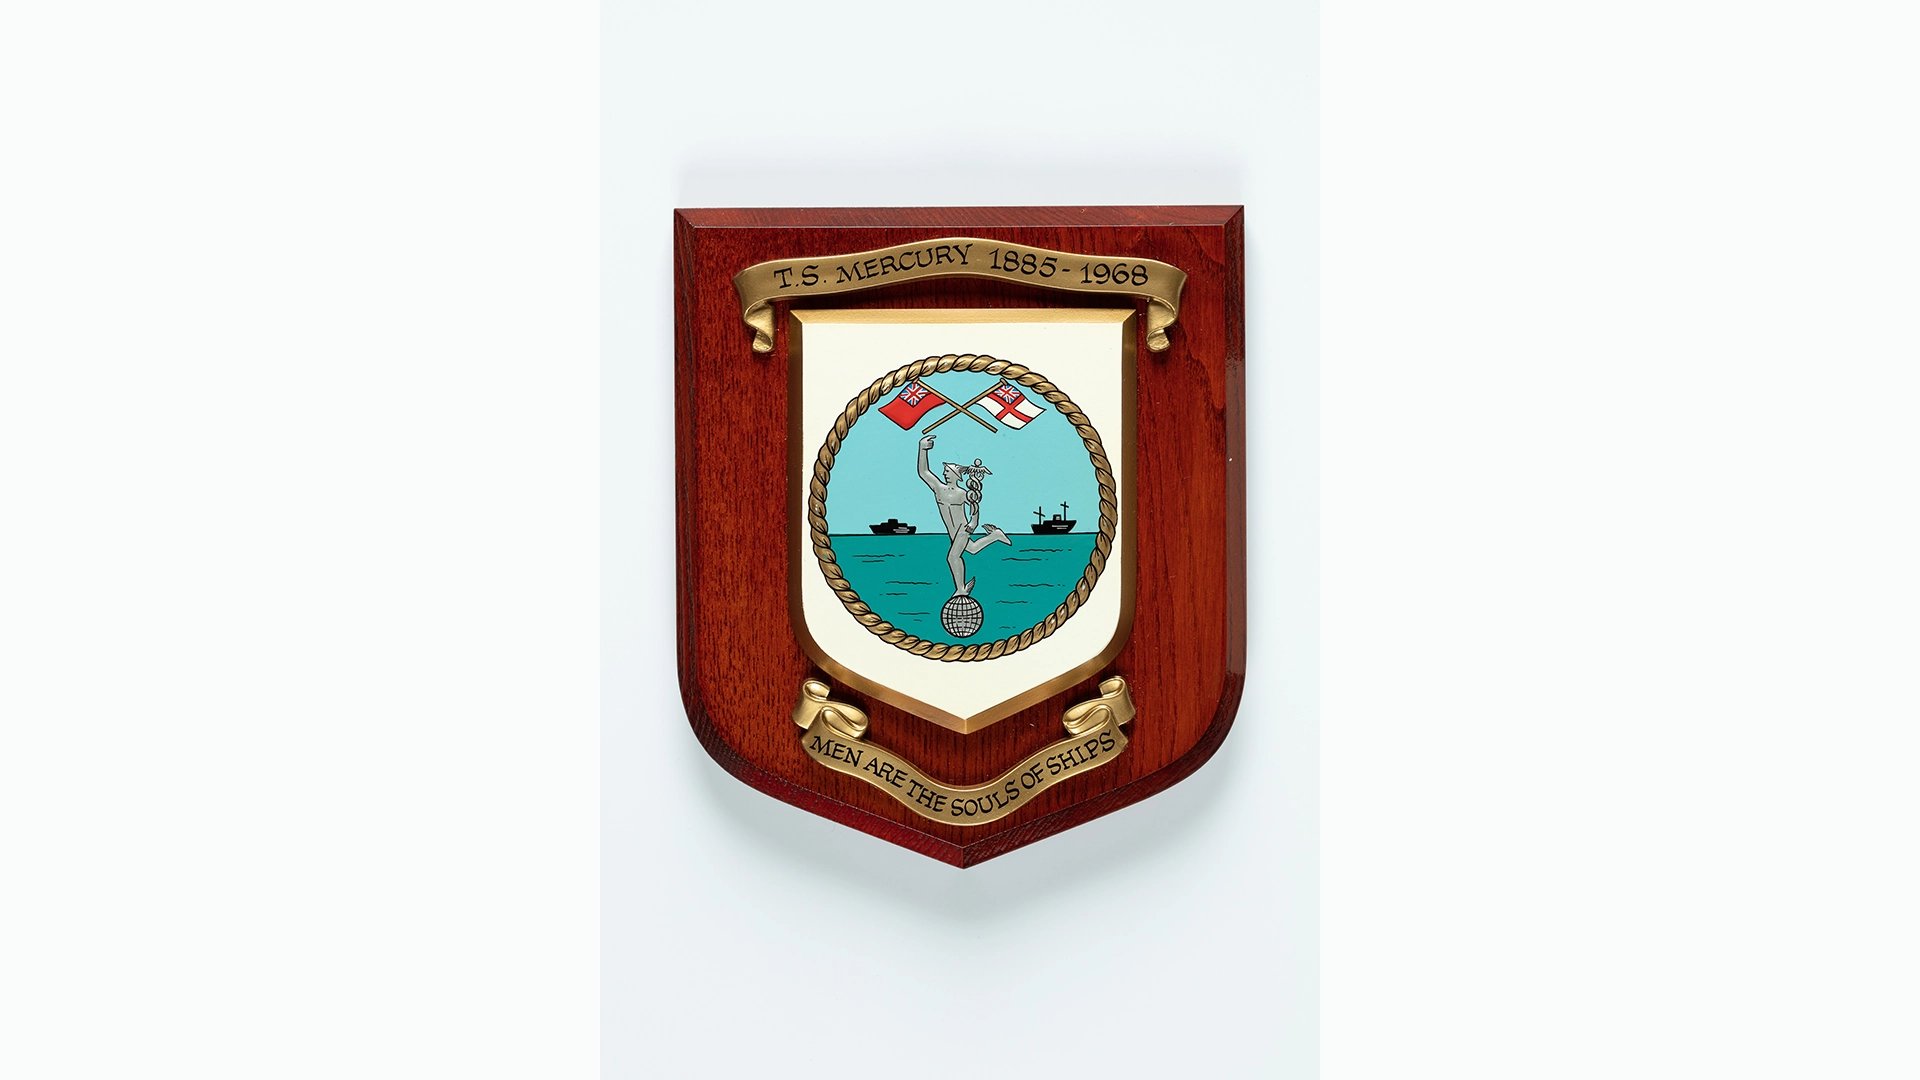
Photographing Plaques and Shields

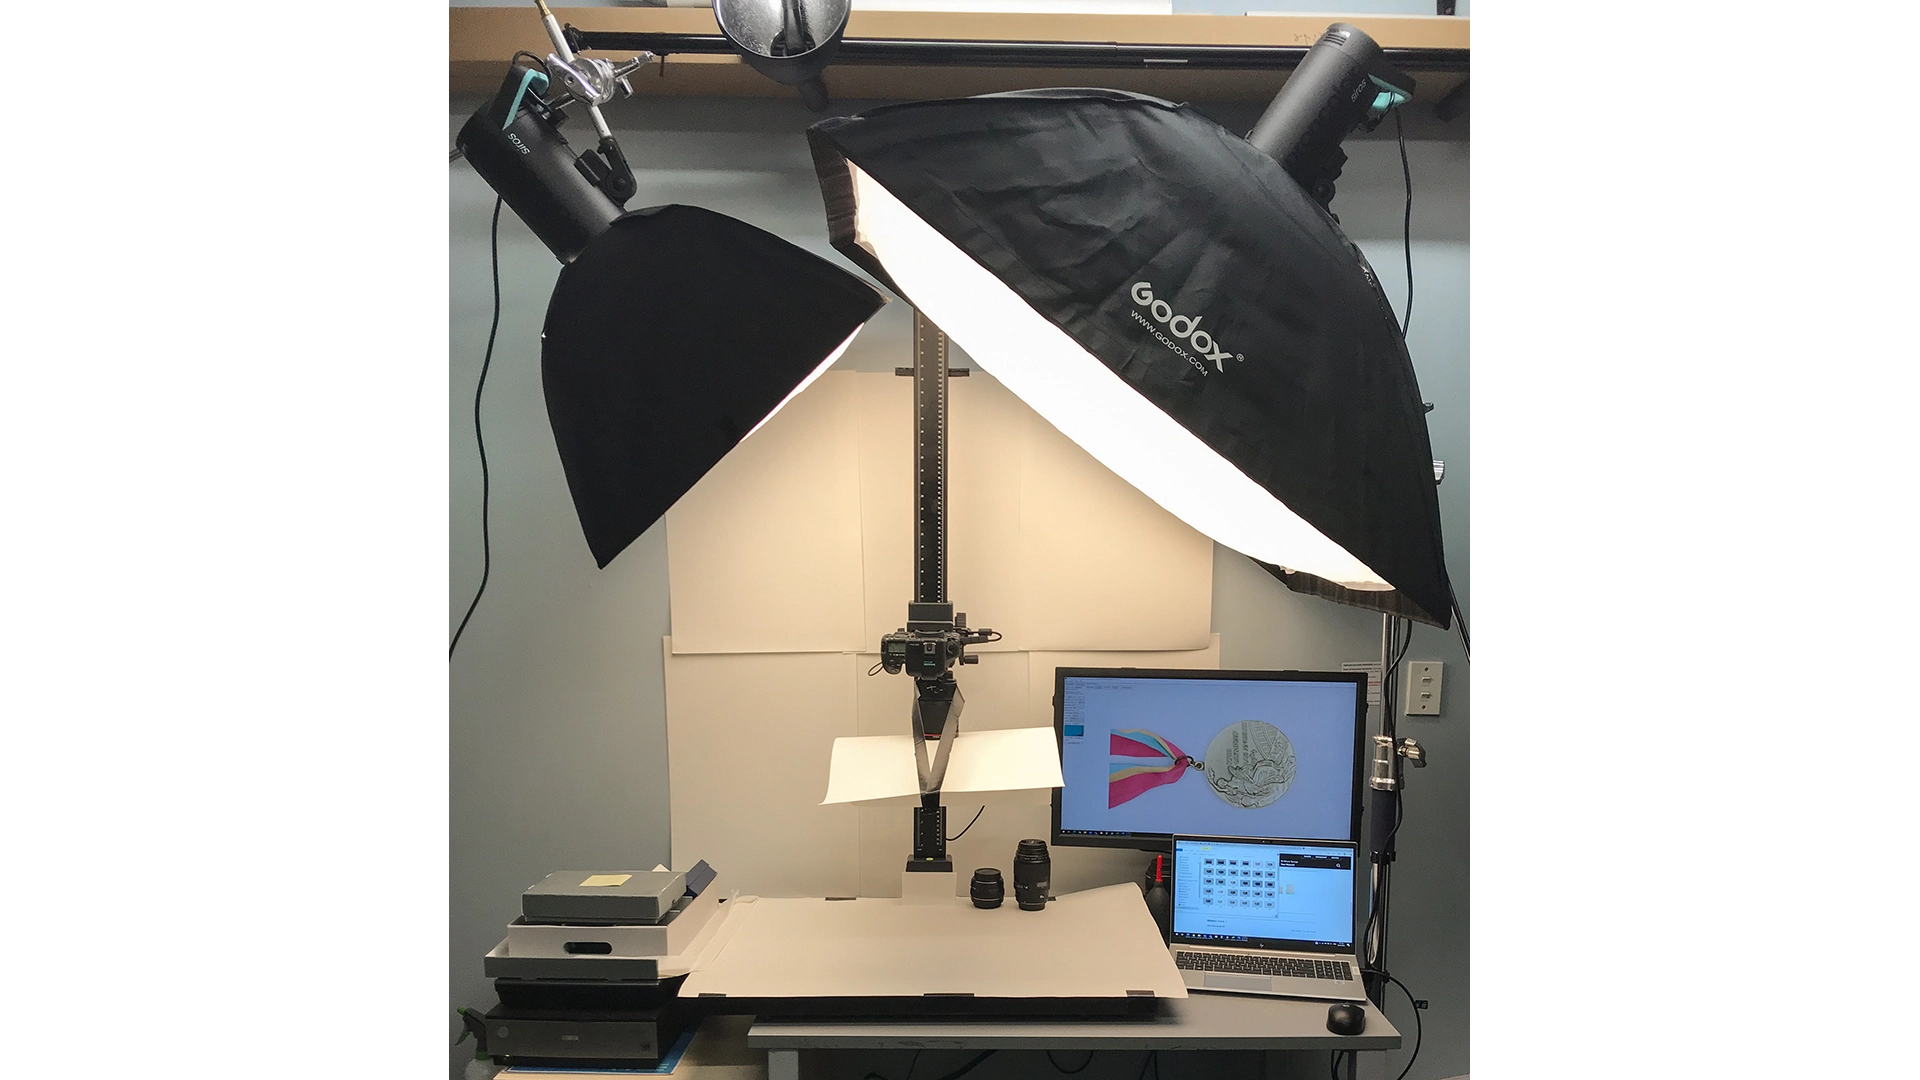
When it came to photographing our plaques and shields, we again changed our lighting setup to accommodate the new challenges of capturing this collection. Whilst still using two 60x60 softboxes on either side of the copy stand, we opted for an asymmetrical setup. The left softbox was situated lower and closer to the copy stand than the right. Both were blocked out with black fabric across the top third to reduce the apparent size of the softbox, making for a more controlled lighting area. Both lights were angled directly down towards the centre of the copy stand to light the object. We made use of white card as a reflector on the left side of the copy stand and we offset the lighting output due to the closer proximity of the left light to the object. As with the medals, the plaques and shields were photographed on a white background, with some on a white acrylic panel to gain different effects best suited to the object on the table.

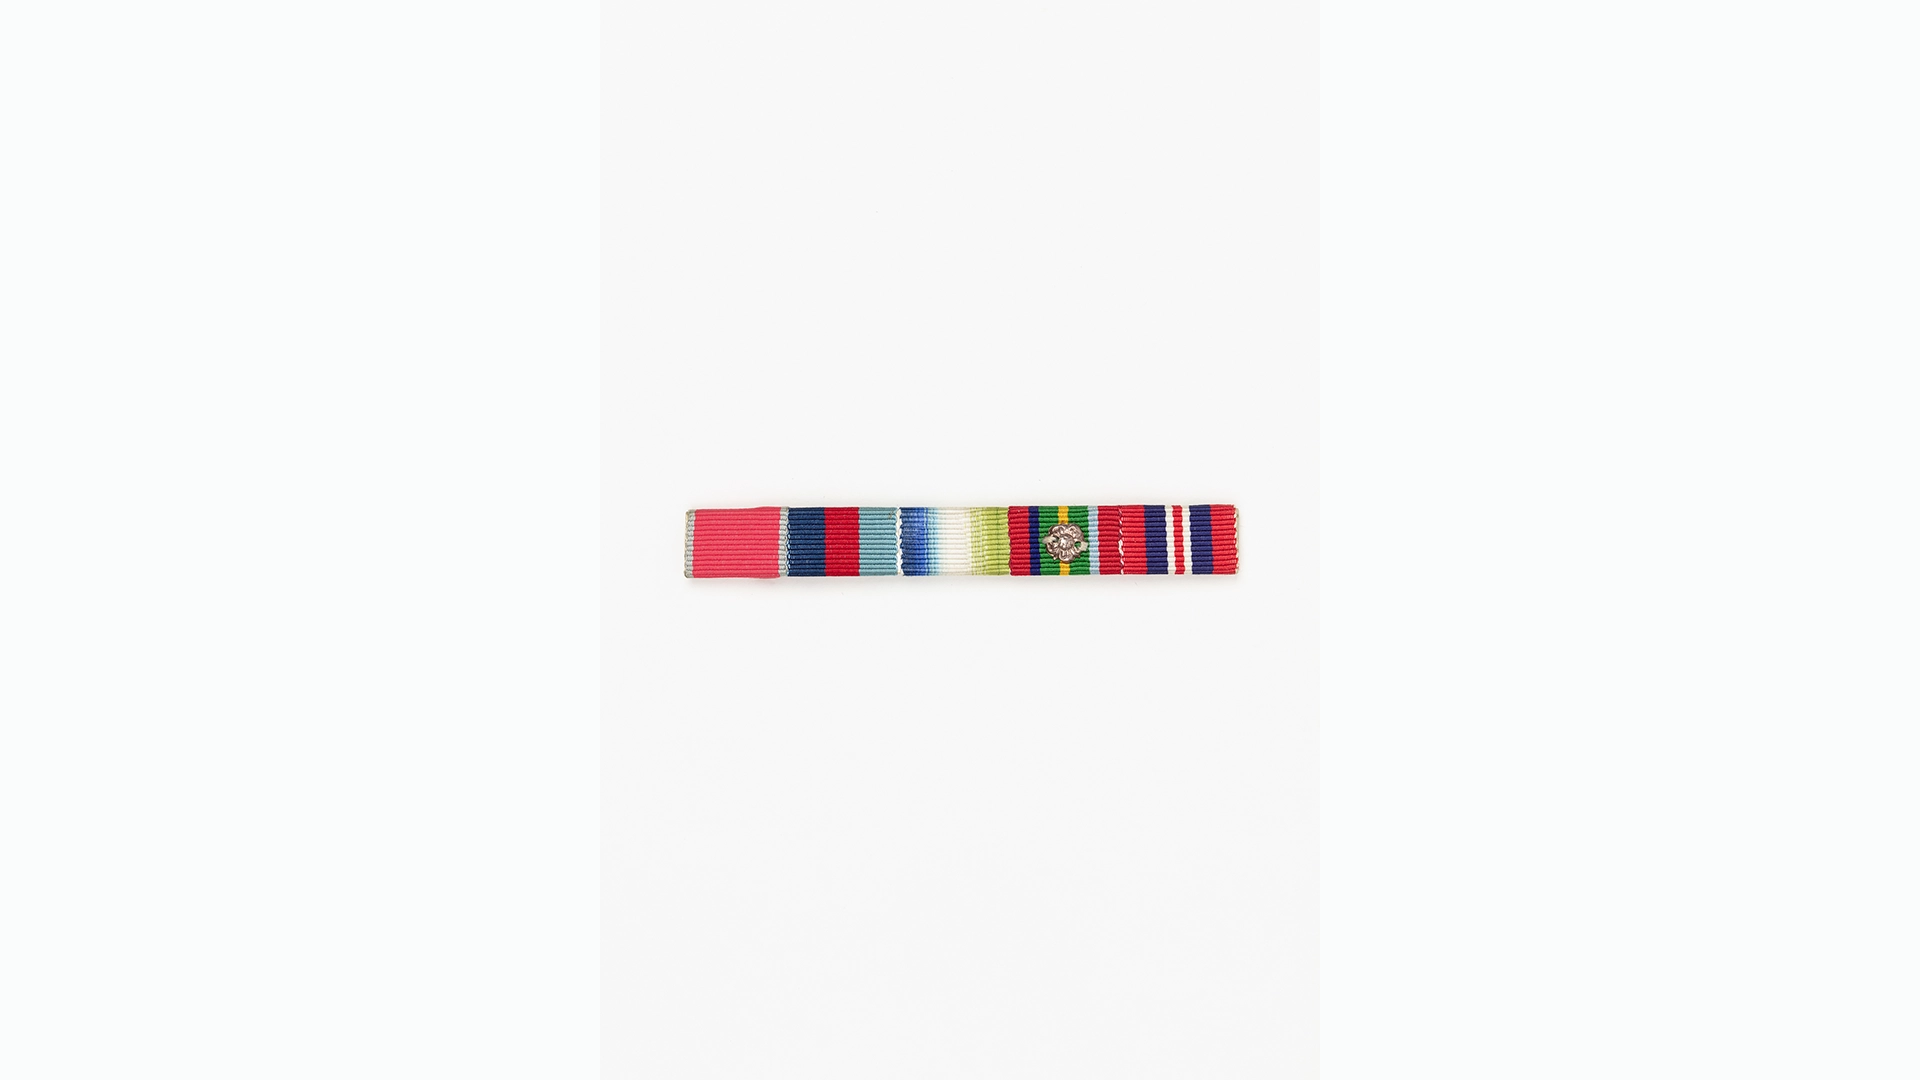
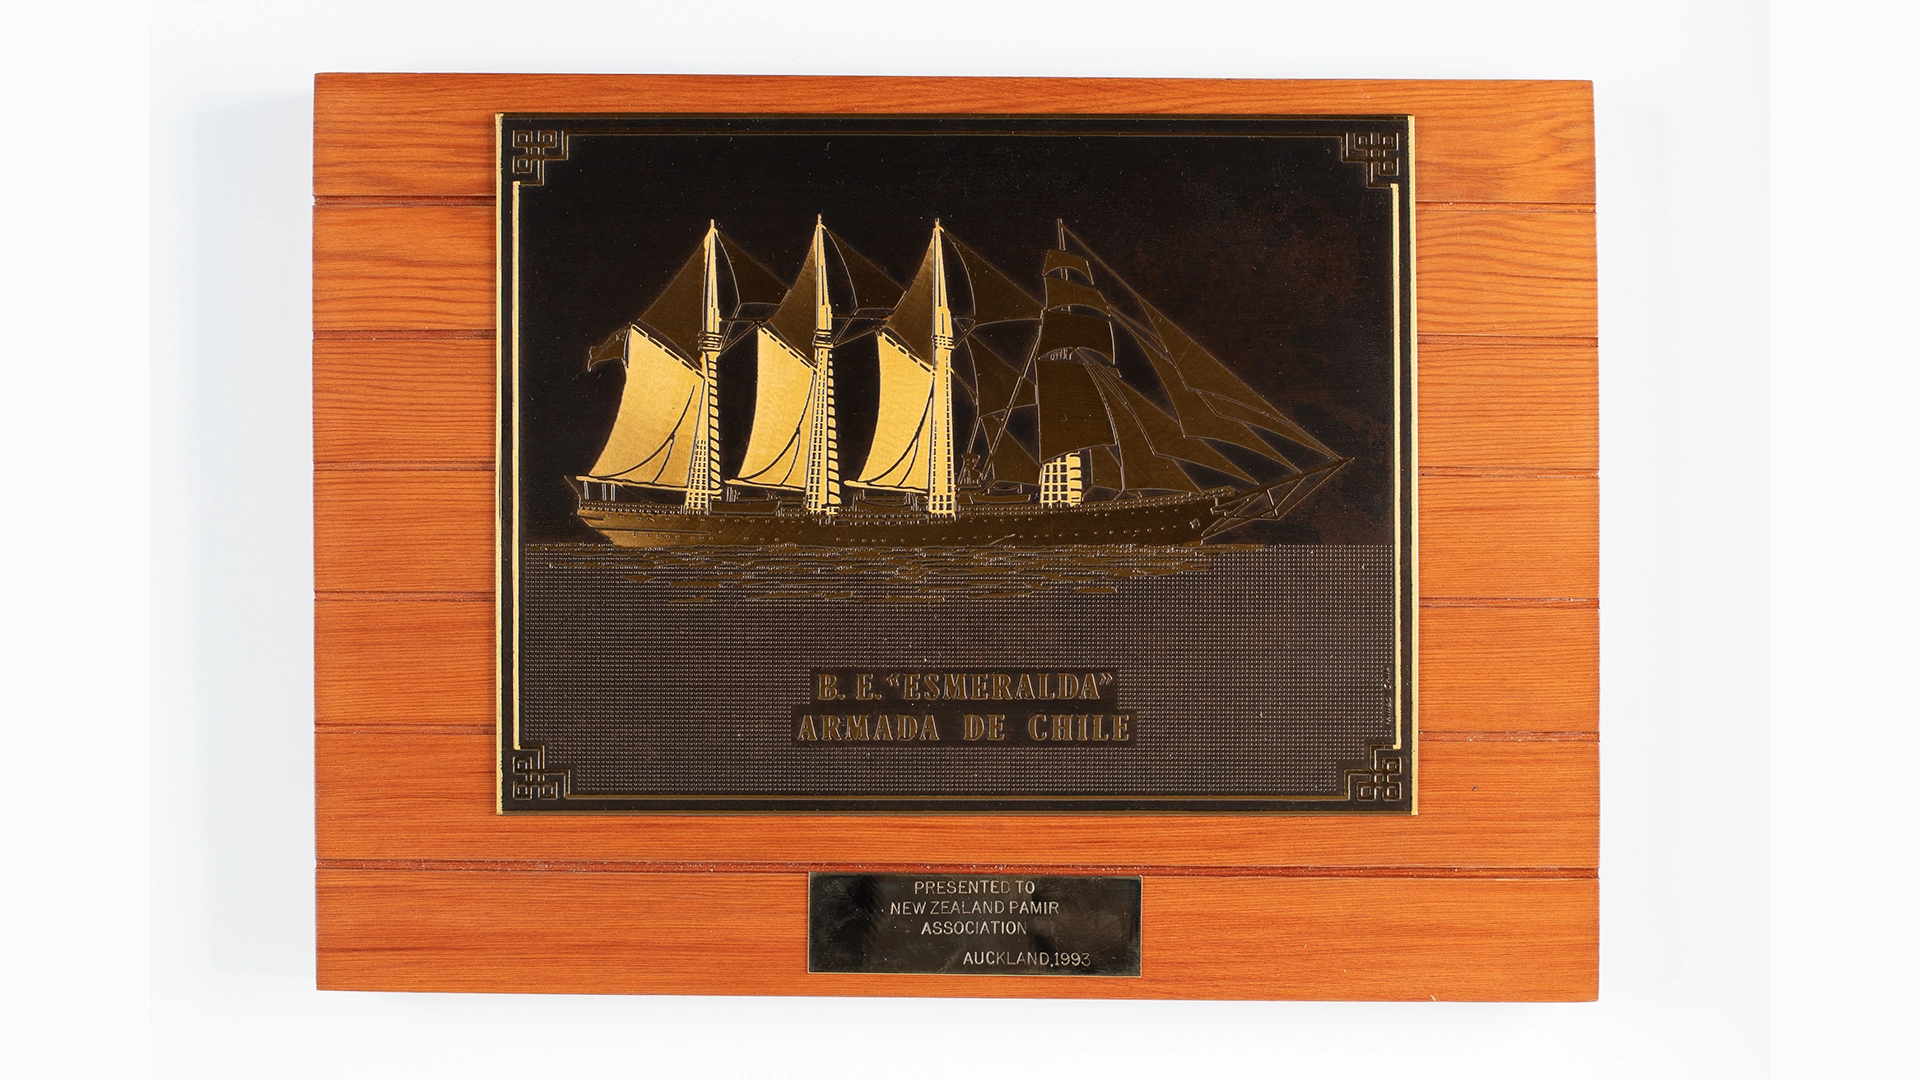
The main challenges we came across were reflections on shiny materials and raised areas or relief work causing shadows at odd angles. This challenge required us to place card around the lens to hide the body of the camera, and to move around white card until we either hid the reflections or were able to reflect light back onto the object. Plaque B.E. ESMERALDA (NZMM 1993.278) was one such tricky object. The detailed image of the ship was created using relief work on metal. So, not only did we have the problem of metal being a reflective surface, but we also had the problem that the relief work was running in different directions for a textural effect. This meant that no matter which direction we tried to light the object, there was always a section of the plaque that did not reflect the light in the same way.

Continuing with small 3D objects

Most recently we began to photograph buttons and small ornaments on the copy stand. The baseboard of the copy stand is big enough that small objects can be photographed from the side at a raised angle. Having the camera on a quick release plate makes this easy to do and allows us to easily photograph small objects from above and from the side sequentially without altering the setup. This does require the operator to have some knowledge of close-up photography. It is a much more complex workflow than paper-based archives, but when used confidently, it is faster and more consistent than photographing small objects on the large 3D set up.

Thank you for following along on our creative journey. I hope that you, as the reader, have enjoyed this small insight into capturing small 3D objects on our copy stand setup.