Digitisation at the Maritime Museum: Part 2

This is part two in our series on digitisation at the New Zealand Maritime Museum Hui Te Ananui A Tangaroa. The series is written from a photographer/digitisation tech viewpoint.

By Katherine Meeten | 29 November 2022

Following our first digitisation blog in November 2021, this instalment focuses on how we digitise our archives collection and our photographic prints and negatives.

A copy stand is an ideal way to quickly and consistently digitise archives and other paper-based collections using an affordable digital camera. Once set up they require very little input from the operator and, if the condition of the material allows for it, over 1000 pages a day can be captured.

In our photography studio, alongside a large-scale 3D setup, we have a smaller copy stand setup and scanner. Most of what comes through our copy stand are letters, notebooks, and typed manuscripts, including historic Auckland Harbour Board files. We can also adjust the setup to photograph small gems like medals, photo albums, illustrated diaries, plaques and shields, coins, buttons, and more (more on this in our next blog). Adjacent to this, we use a scanner to digitise our photographic prints and slides.

To photograph archives and other paper-based taonga, our Kaiser copy stand is set up with two Broncolor Siros 800S lights on C-stands, each with 60x60 Broncolor softboxes. These are placed at a 90-degree angle, distanced equally on either side of the copy stand. A Canon 5DS DSLR camera is attached with a quick release plate to the camera mount on the copy stand column. The camera can be moved up and down on the column by way of a crank handle. Our most regularly used lenses are the Canon EF 50mm and 100mm macro prime lenses, and a 24-70mm zoom lens. We also have a 135mm TS-E macro tilt-shift lens that can be used when dealing with shiny or reflective surfaces.

We use Broncolor lights for their colour accuracy, consistency, and short flash duration. We use flash at Hobson Wharf because continuous lights require a slow shutter speed which results in blur if there is any camera movement. This is a problem for us as our building sits on an active wharf and can move slightly from time to time. At our offsite storage facility we have a similar setup using two low cost Godox LED continuous lights. Here colour accuracy is less important, and the building sits on a solid foundation.

The camera is connected to an HP Elitebook laptop with a tethering cable for remote capture with DSLR Remote Pro capture software. A BenQ colour accurate monitor is used as the second screen for this setup. With the camera’s live view turned on, we can quickly and easily line up the work under the camera and capture the object. The second screen is an important part of this process as it allows us to check the results before continuing. The close proximity of the laptop and BenQ screen to the copy stand is important for user ergonomics, reducing the amount of twisting and moving they need to do. To aid user ergonomics even further, we have recently added a foot pedal to trigger the camera. This also speeds the process up to allow for larger production output.

An Epson V850 Pro scanner is also set up for colour accurate scanning of prints and 35mm slides. The scanner is connected to a BenQ monitor and AMD Ryzen 7 3700X workstation. This workstation is also used to process the final images from both the scanner and copy stand into the files we attach to our collection records and the files we secure in our digital archive.

Photographing Archival Materials

Most of the work that comes across the copy stand are archival materials, such as, letters, cards, menus, plans, notebooks, logbooks, diaries, and other correspondence. A black background is preferable for most archives as it defines the edge of the page better than a white background. In contrast, a white background is often used when digitising photograph albums.

Archival materials hold a wealth of knowledge. Through them we can take a glimpse into the associated person or company’s life, achievements, struggles, impacts on society, and so much more. It is highly valuable to digitise archives because digital surrogates (that is, the digital images) allow museum staff to comprehend better their own collections, grants researchers wider access to the museum’s collection, and makes it easier for the museum to share the collections with wider reach.

So far, we have captured documents from Gratton Grey, Phillippa (Pip) Were, Gerry Clark, Cliff Hawkins, Auckland Harbour Board records, a selection of Bill Laxon’s shipping index cards, William Ross, Anthea Goodwin, and Marion Spicer. We have also had the privilege of photographing the Tackaberry album, and two TSS MARAMA albums. Each album contains highly prized photographs relating to New Zealand’s maritime history; every photograph has been digitised individually, as well as each whole page in the albums. The most recent archive collection across the copy stand has been the unframed art. The collection comprises a range of different media, including watercolours, pen sketches, coloured pencil, and acrylic paint. Most of these artworks are on paper or card, whilst some have been painted on panel or canvas. These are one of the many treasured collections that I have had the privilege to photograph over the course of the project so far.

The process of digitising archival materials is mostly straight forward, given that loose pages lie flat and spiral bound books, diaries, and notepads will sit flat whilst open. However, it is not uncommon to come across folded pages, curled cards or photographs, and books or albums with tight binding. Under these circumstances we can make use of a selection of Perspex fingers or a high opacity glass plate to hold them flat. For bound books, by propping the plate up on narrow foam blocks, the plate can keep the pages sitting flat without putting undue pressure on the spine of the book. For curled or folded pages, the glass plate can sit directly on top of the page, weighing down the creased edge so that the page sits flat. This means the page can be photographed without unwanted shadows or page distortion. We use a colour calibrated pre-set in Lightroom to account for a small colour cast created by the glass plate. We also seek input from the Collections Team before starting on a collection. The team can guide us on any possible handling limitations based on the condition of the material being digitised.

We have also met the challenge of how to capture works on tracing paper. The issue to consider is what colour background to use. For plans and diagrams with writing, we tend to use a white background so that what is written on the tracing paper is visible in the digitised image. In contrast, for drawings or sketches, the focus is on the medium used. A black background can be better for this as you can see that the drawing has been done on tracing paper. However, this is something we assess on a case-by-case basis to ensure we are capturing the right information.

A colour calibrated Epson V850 Pro scanner is used to capture the majority of our photographic prints and 35mm slides. We use the Epson Scan software in proffessional mode to capture the images from the scanner. Prints can be scanned individually or in groups and slides are placed in a slide carrier, holding 12 at a time. Both are scanned at a colour setting of 24-bit. The prints are scanned at a resolution of 1200dpi, while the slides are scanned at 3200dpi. The output files are saved as TIFFs and the files are named with a museum registration number at point of capture. Colour accurate results require calibration with i1 Scanner by X-rite and the use of an SG colour chart.

As with any process, there are issues that arise with scanning prints and negatives. The most common issue is getting the prints square on the scanner bed which causes the corners to sometimes get cropped slightly. This is often the case when the edges of the prints have curled and the photograph does not sit flat to the table, or the print may not have been cut square when it was produced - a common problem with older prints.

The most common issue when scanning our slides is the dust evident on the surface. The dust is brushed off with a soft brush before being inserted into the slide holder. Once the slide holder is full, a hand-powered air blower is used to remove any remaining dust before the holder is clipped onto the scanner bed. However, despite best efforts, there can still be dust remaining on the slides when scanned. Slides can also be scratched, or have embedded dust that we cannot remove, and this will show up on the final scanned image.

Ideally we would photograph the slides on the copy stand using a lightbox to backlight the images, capturing both the slide frame and the negative in one go. To do this would require a slow shutter speed. However, because the museum is situated on a wharf, and therefore moves, we run the risk of taking blurry photos with a slow shutter speed. We therefore made the decision to scan our several thousand Seaspray Magazine slides, which is a longer but safer process, and document any notations from the slide frames in the corresponding records. Due to our onsite restirctions, a large quantity of our negatives have been outsourced to external providers for efficenecy.

Working from Home: Scanning vs Photographing

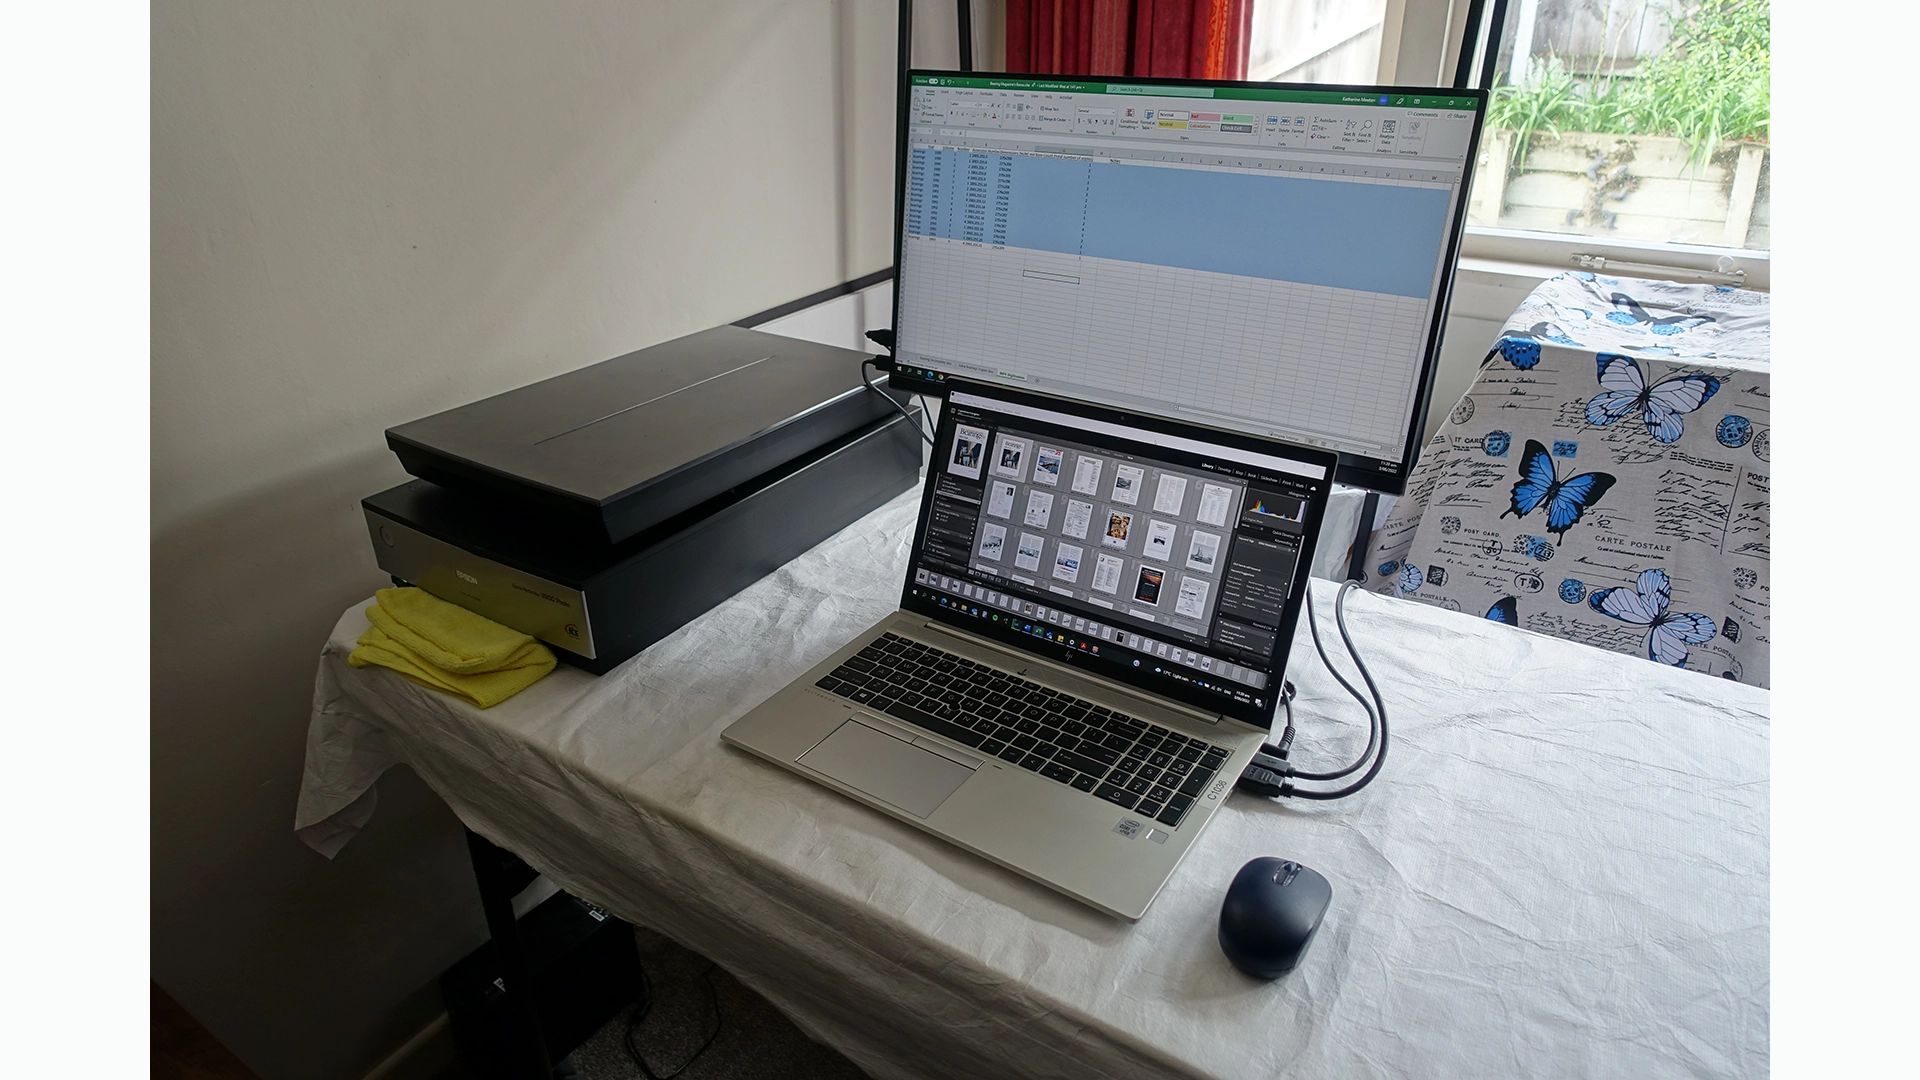
With the knowledge that lockdown was going to continue for longer than a few weeks in 2021, digitisation from home had to be organised so that we could continue to make progress, albeit at a slower pace. With special permission, a complete set of Bearings magazine, the New Zealand Maritime Museum publication, and an Epson V800 scanner were packed up and safely transported to the home office (that is a picnic table temporarily set up in the corner of the lounge and draped with Tyvek).

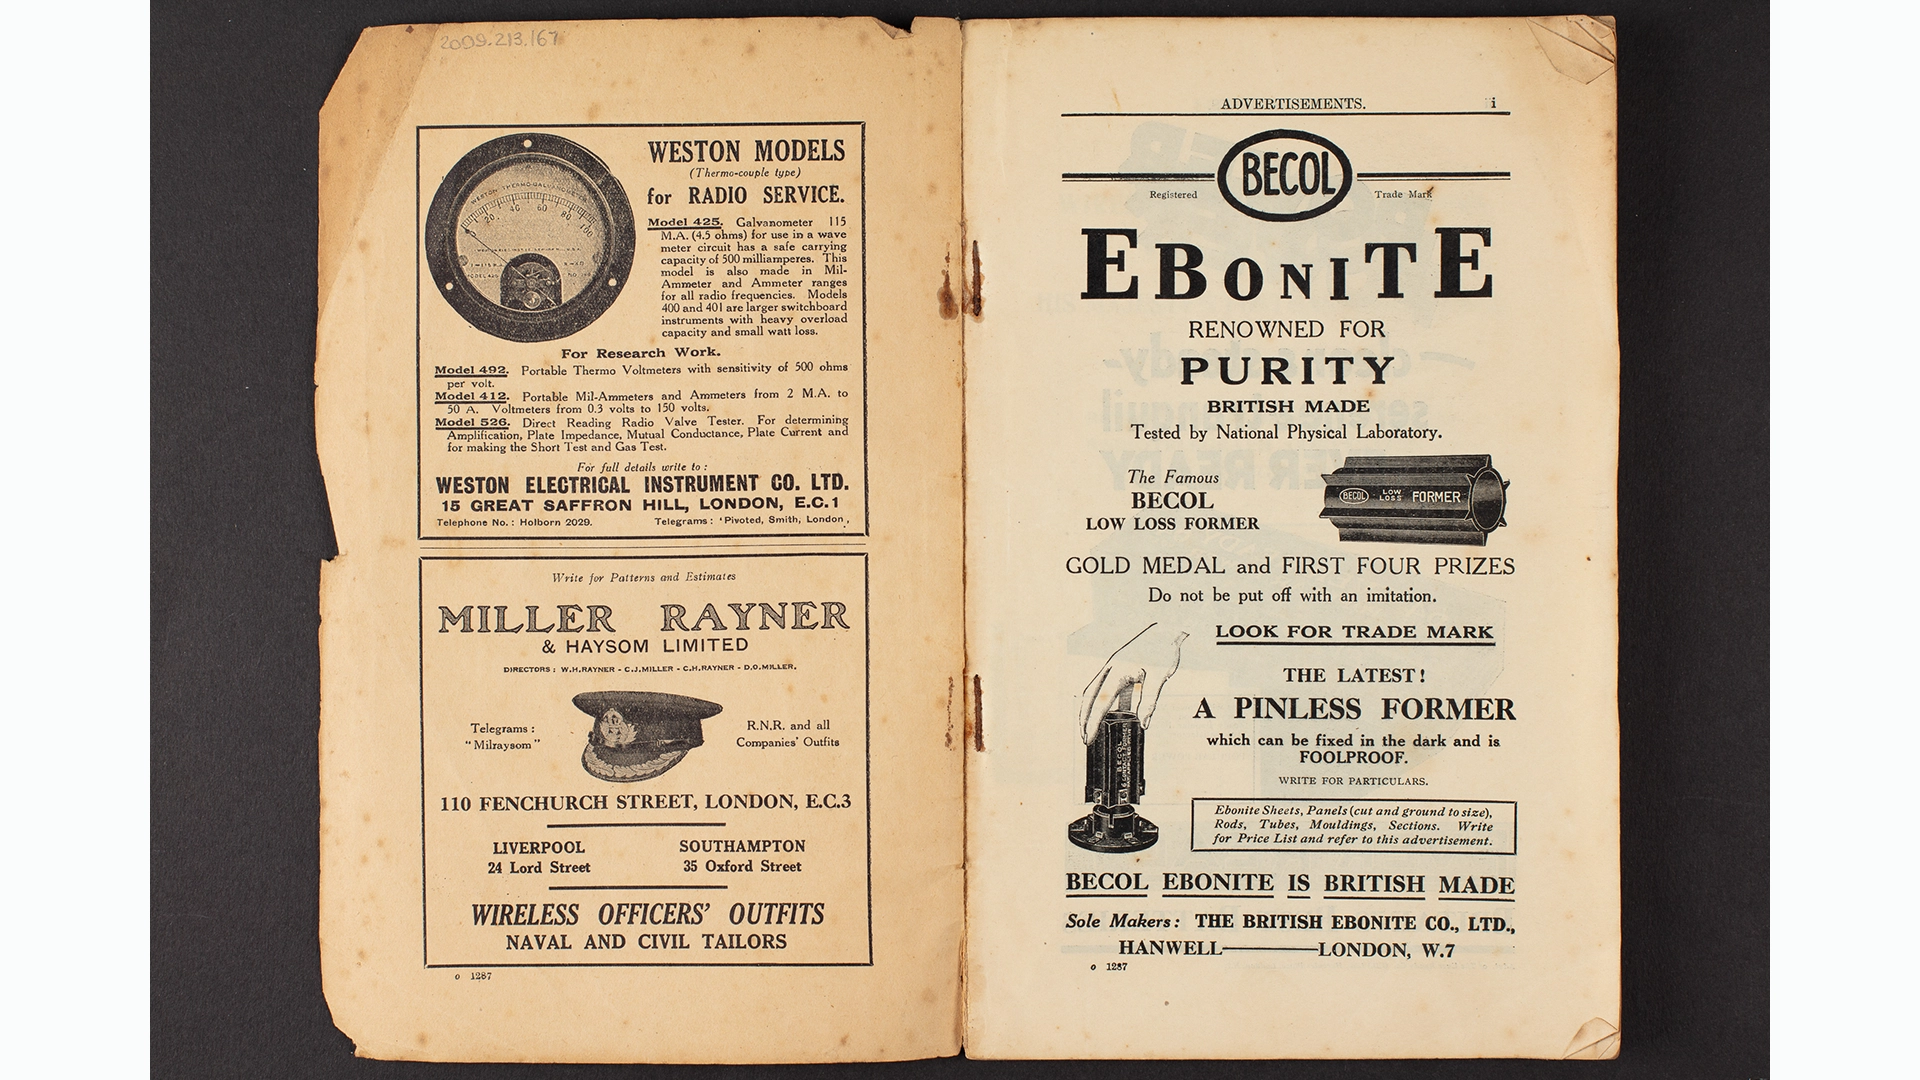
All 17 copies of Bearings were then digitised from home on the Epson scanner. It took between five and six hours to scan one copy of Bearings from front page to back page. Most issues contain around 60 pages, although there are one or two of around 80 pages. For greater context, if we had photographed Bearings in the office on our copy stand setup, it would have taken roughly twenty minutes per issue – a day’s work to do all 17. Instead, it took most of the lockdown to scan the set, scanning one magazine across two days in most cases. The complete set of Bearings is now available to be viewed on our NZMM Collections Online and PDF copies are available upon request.
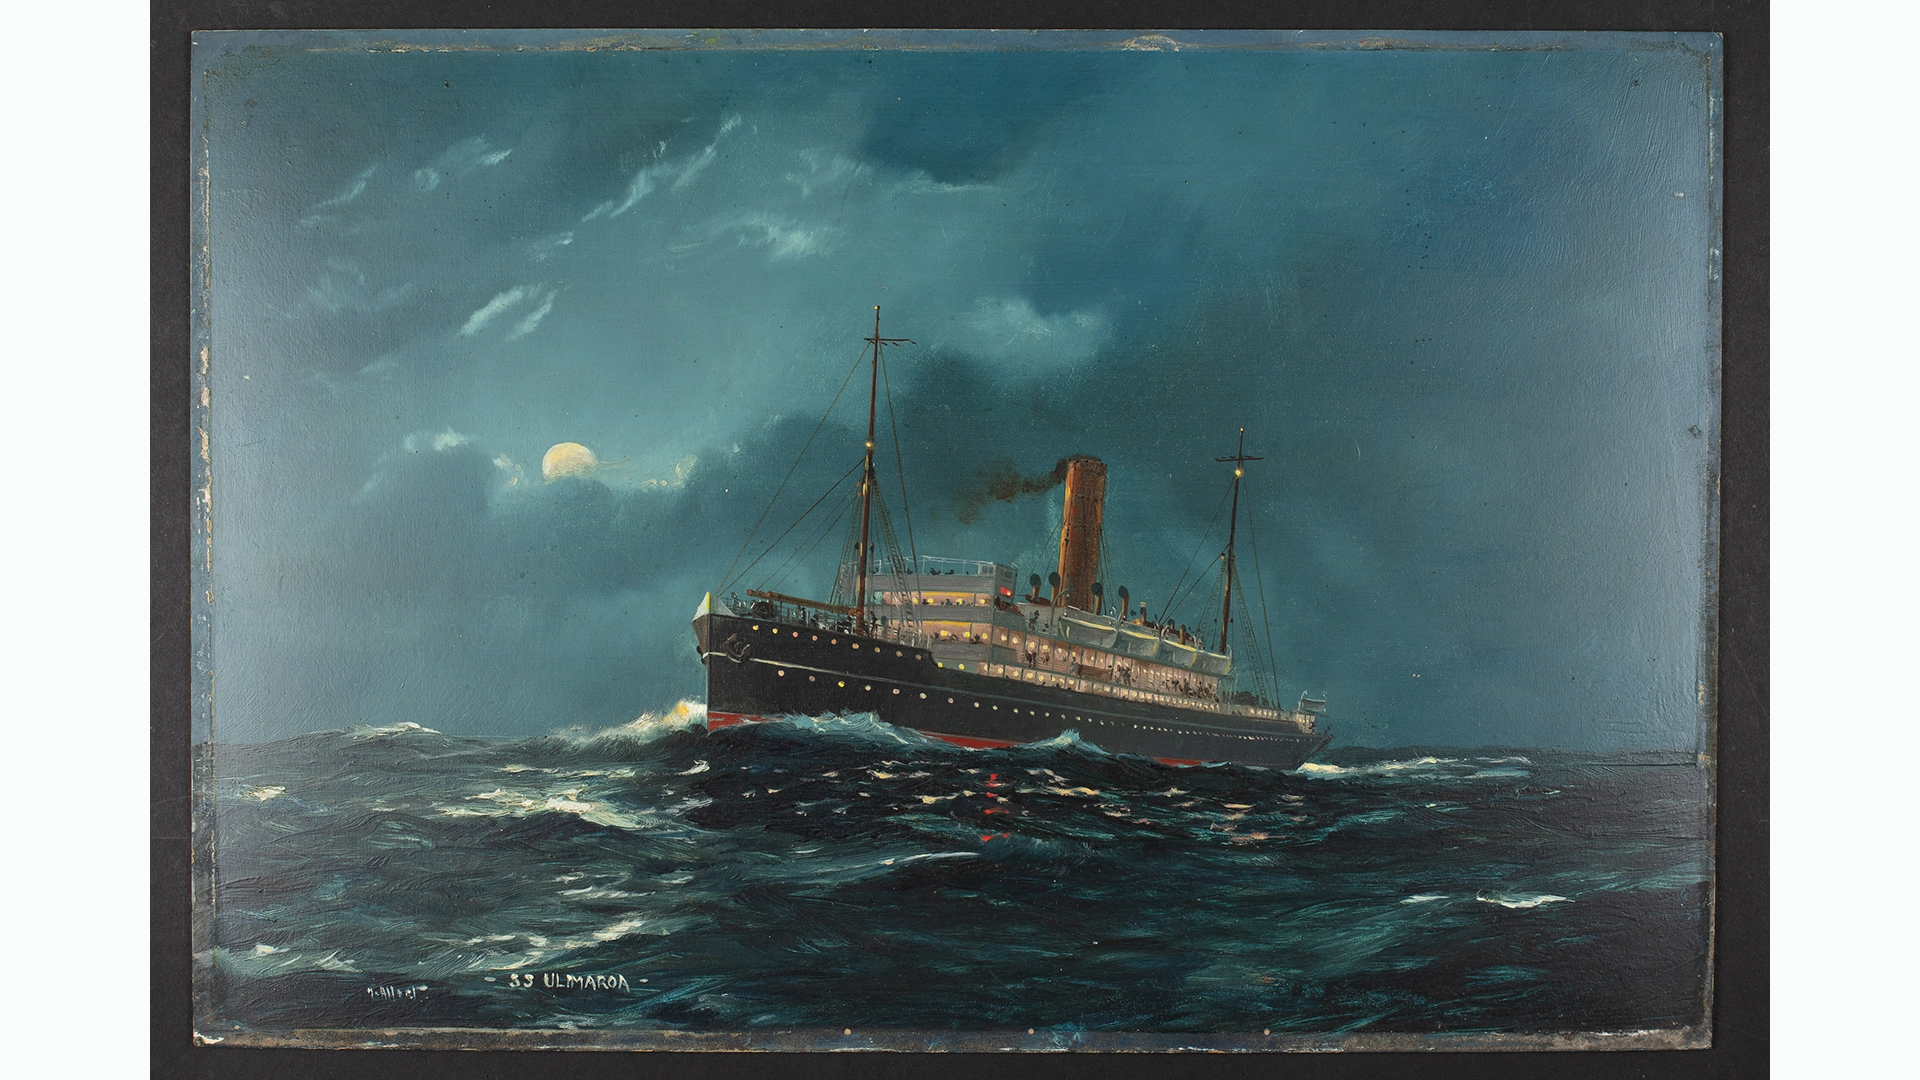
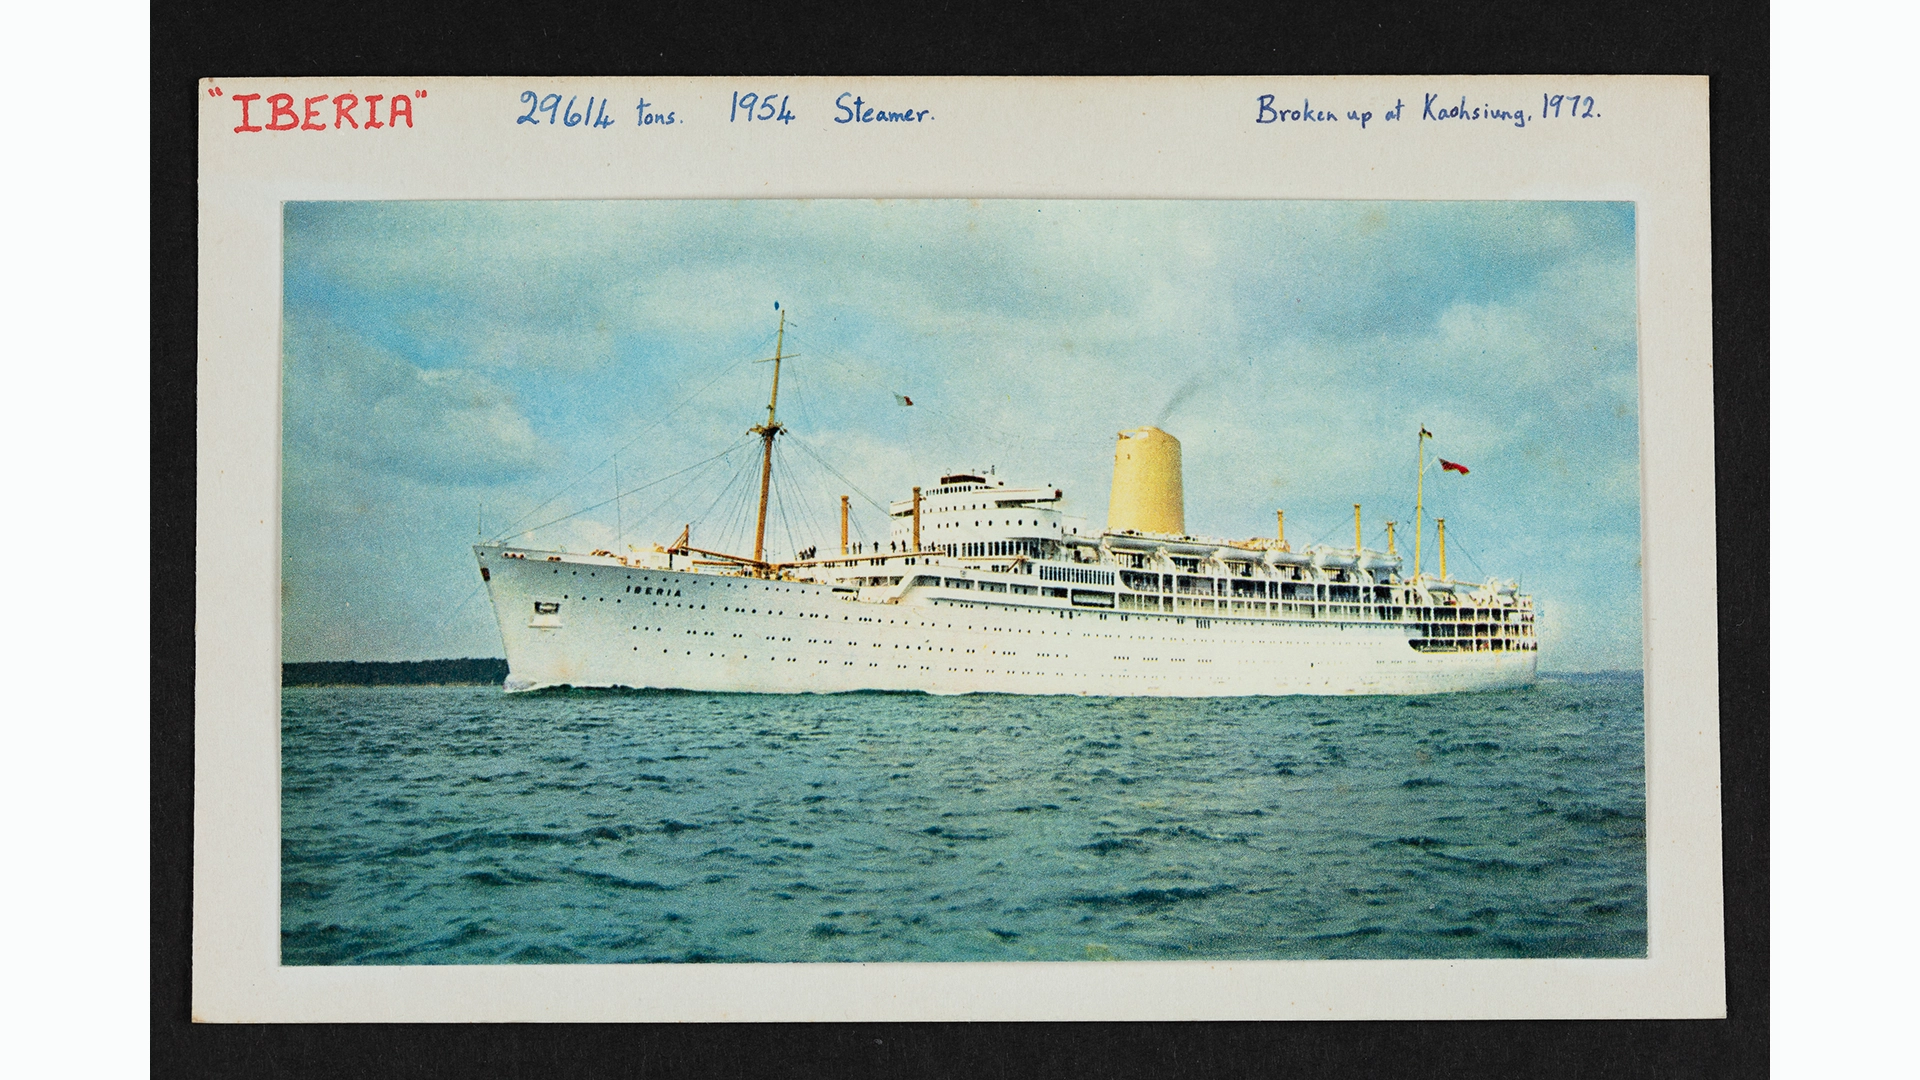
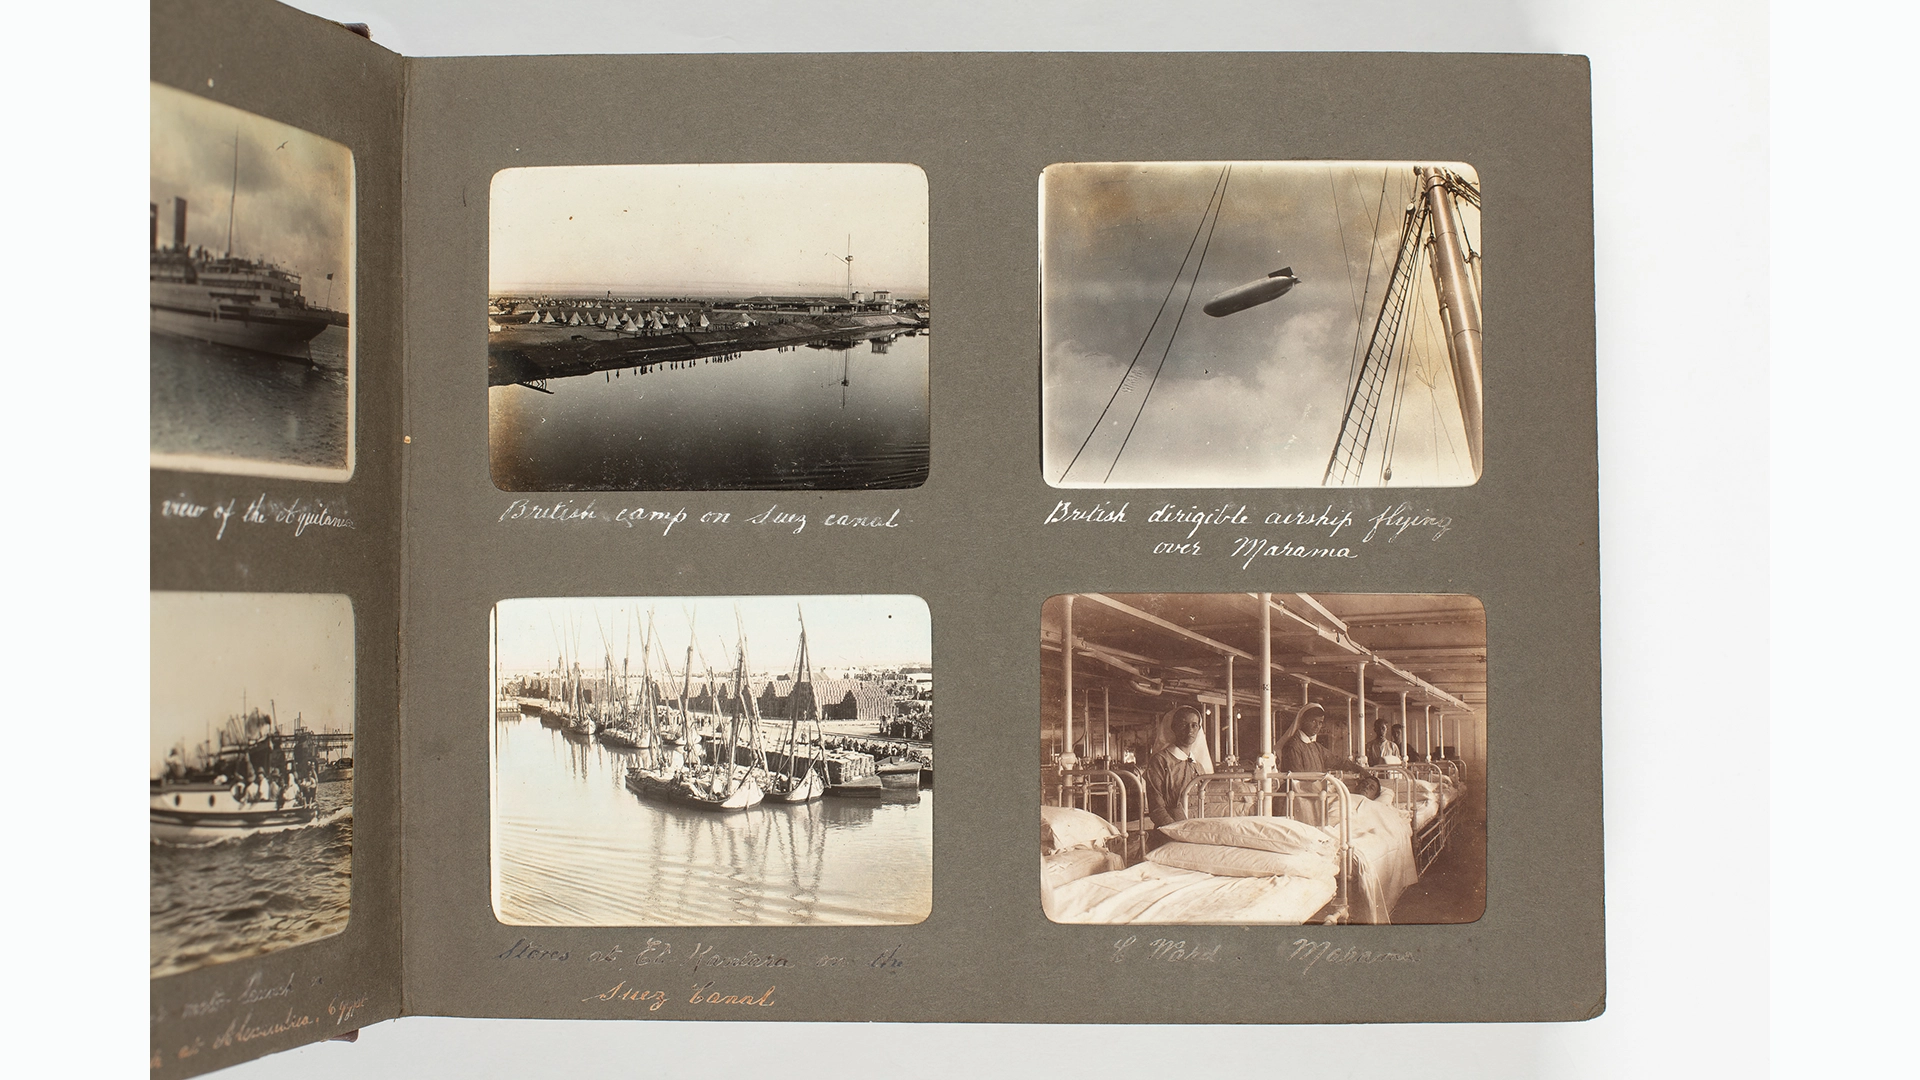
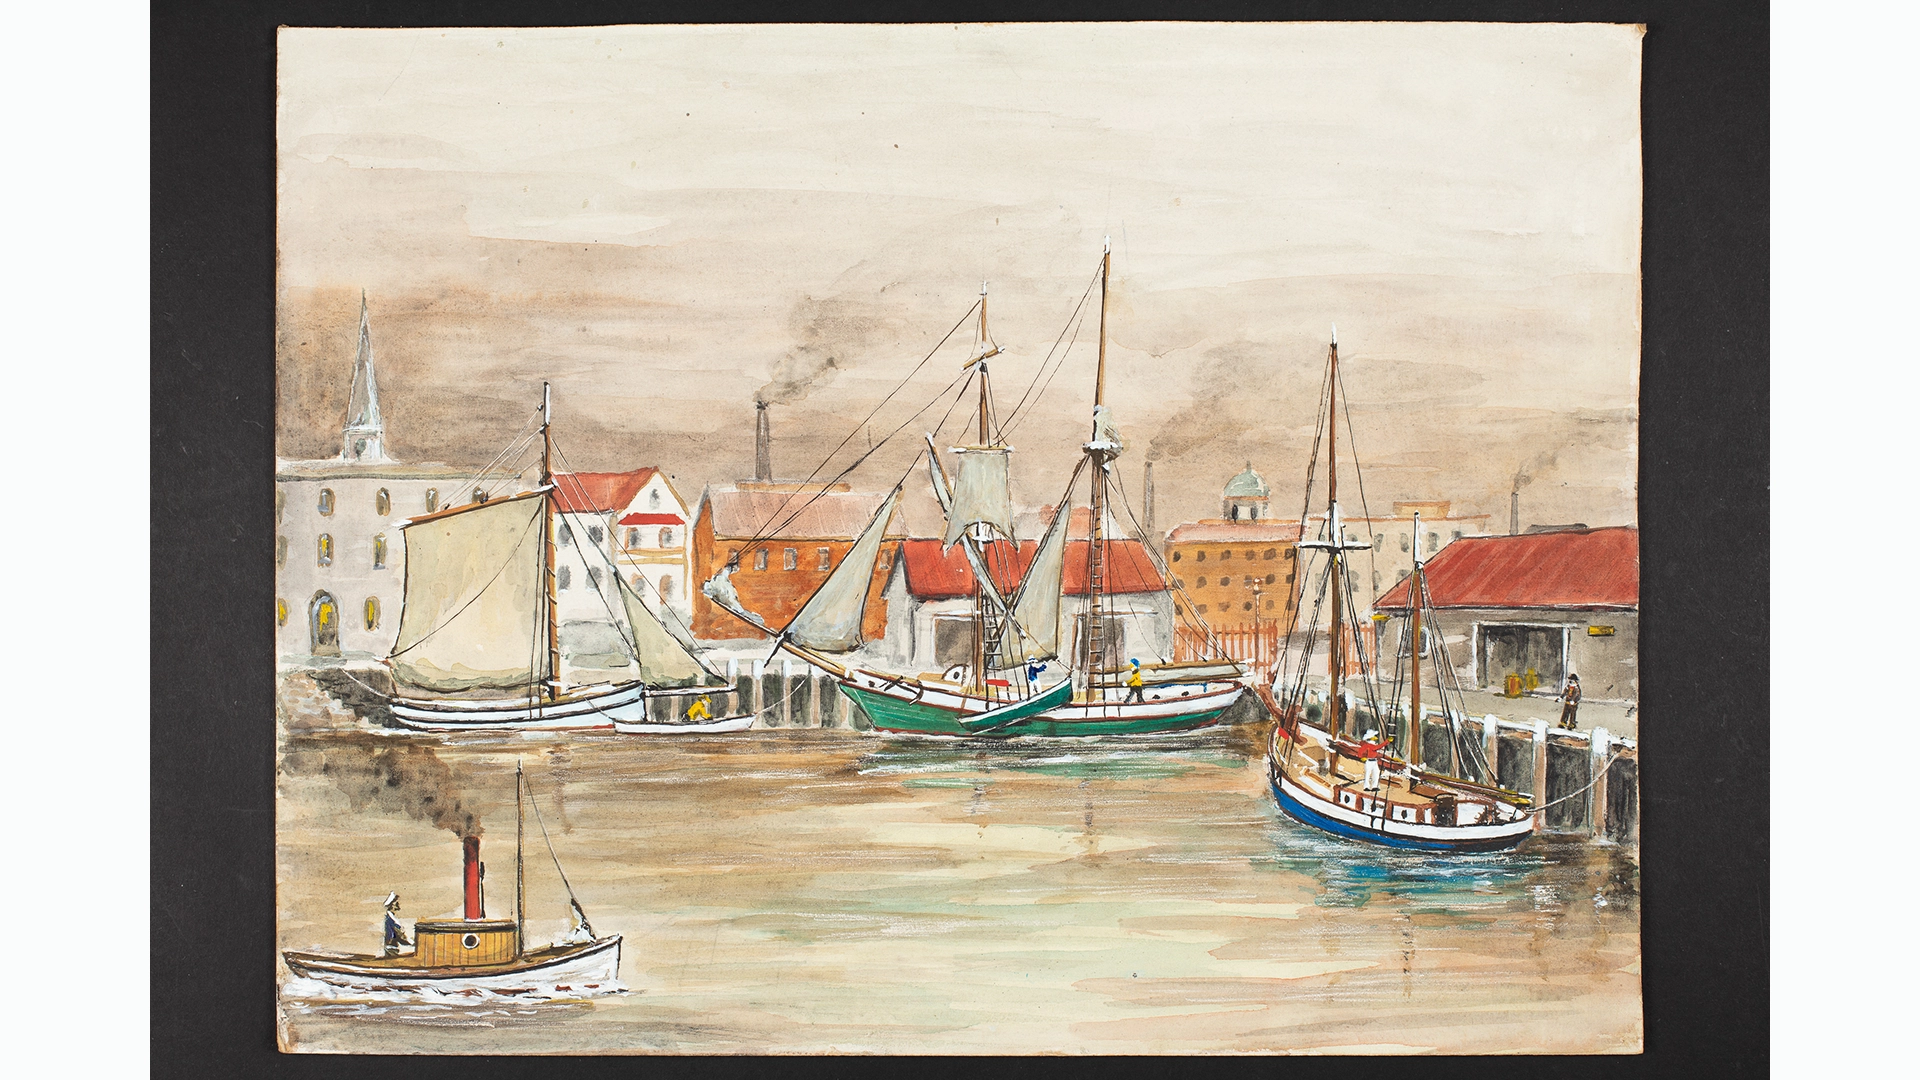
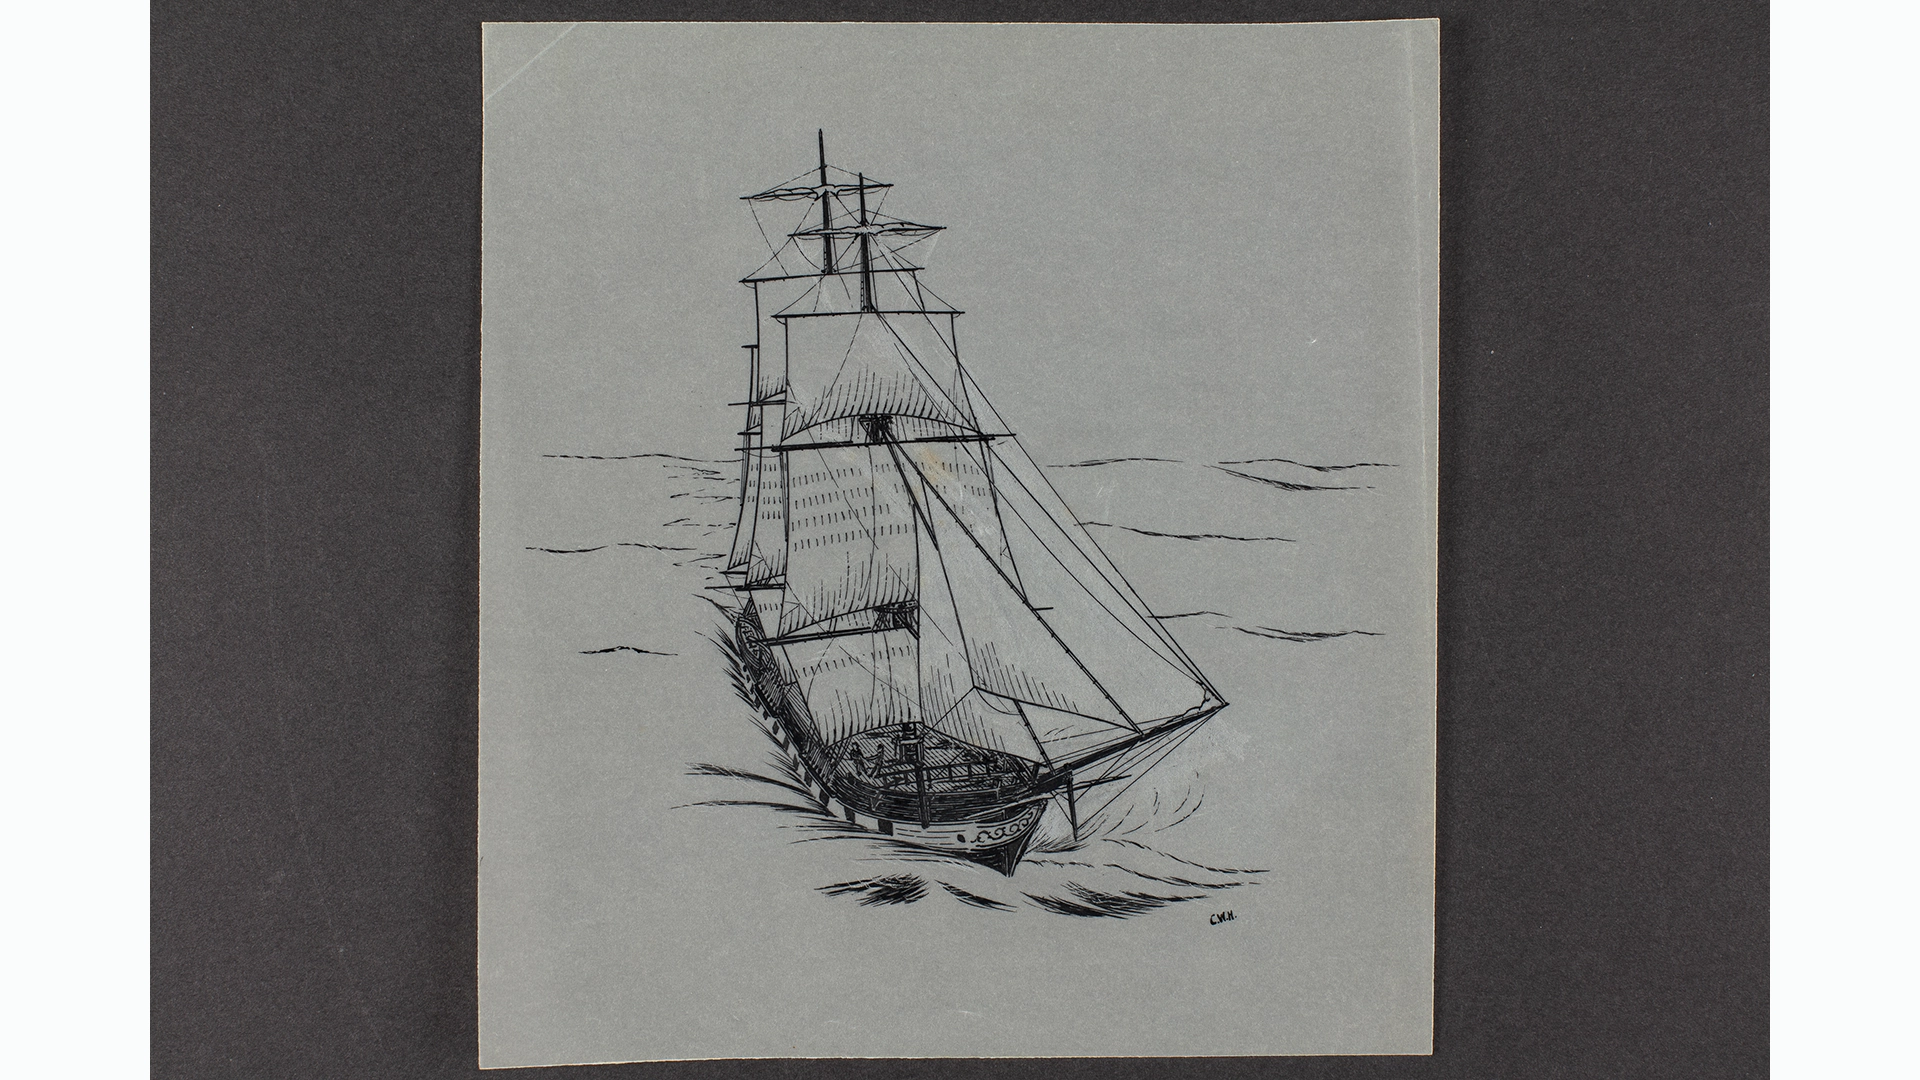
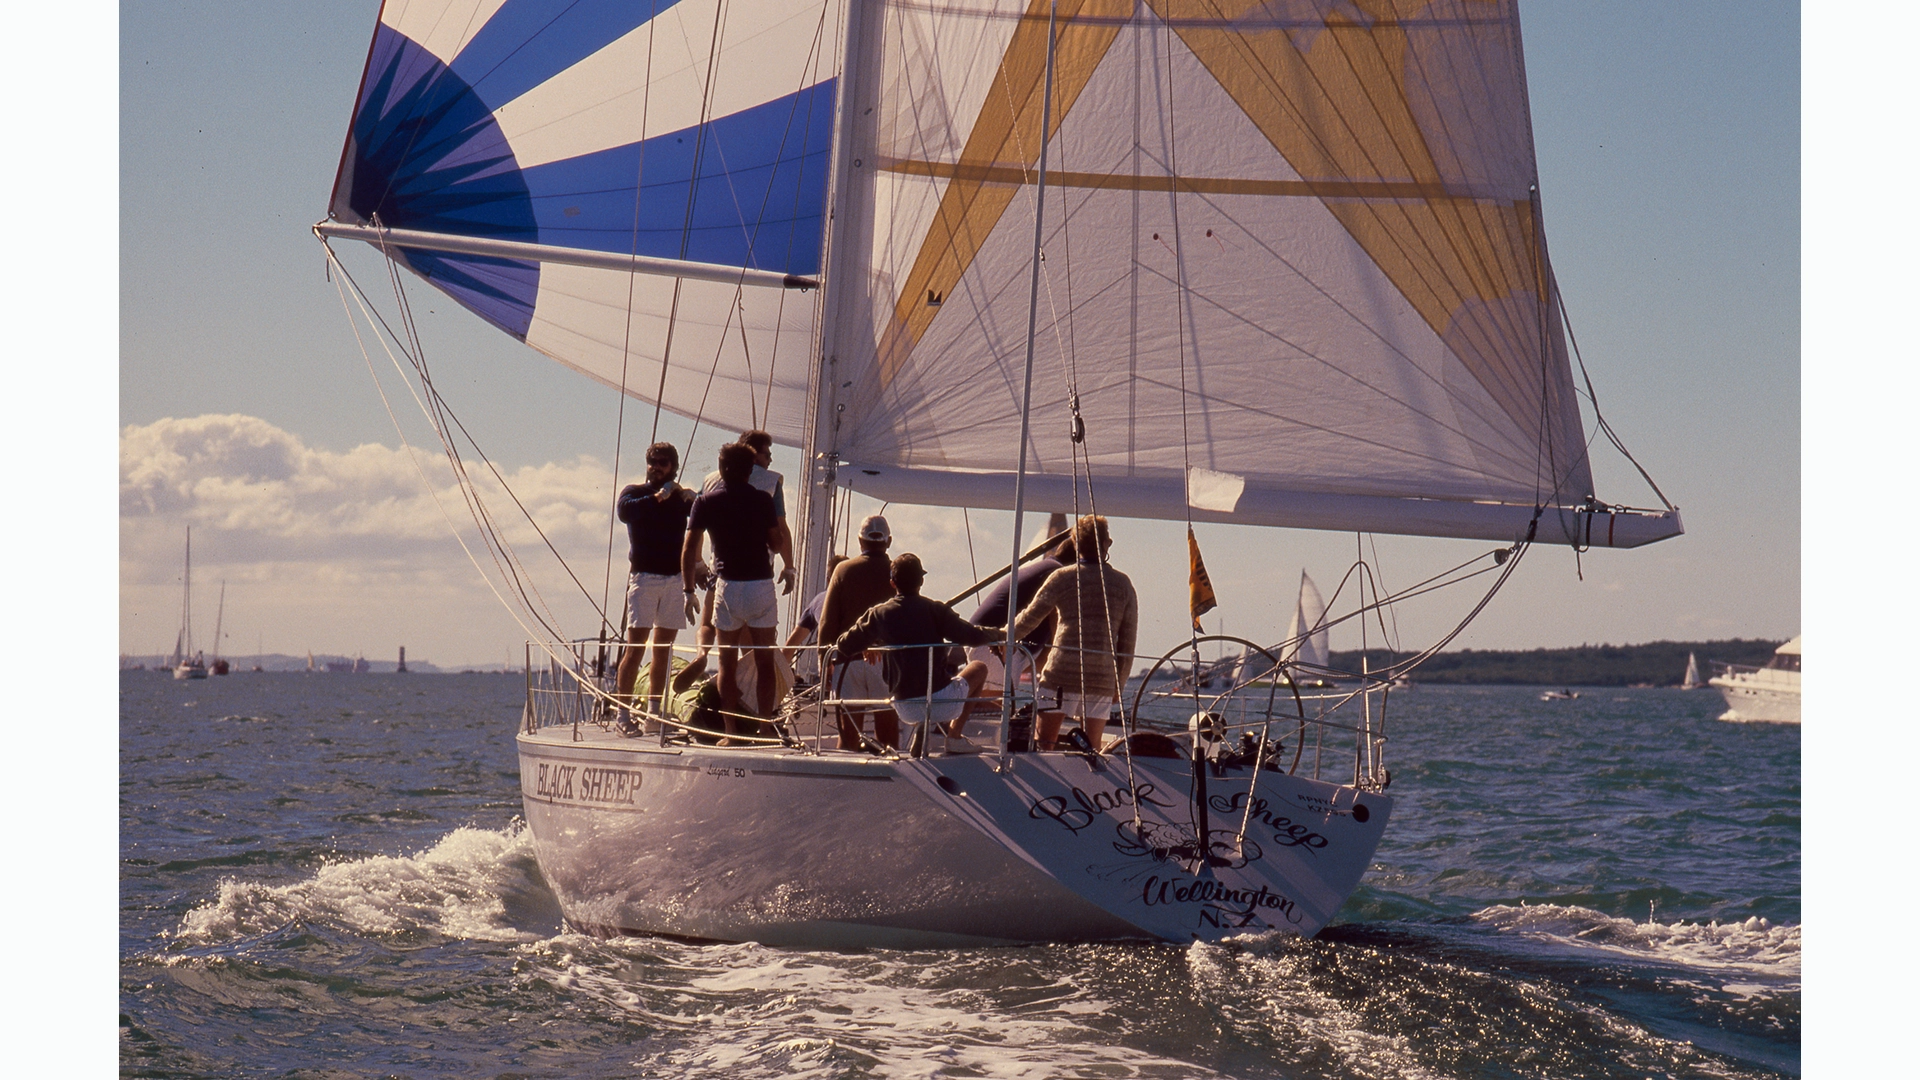
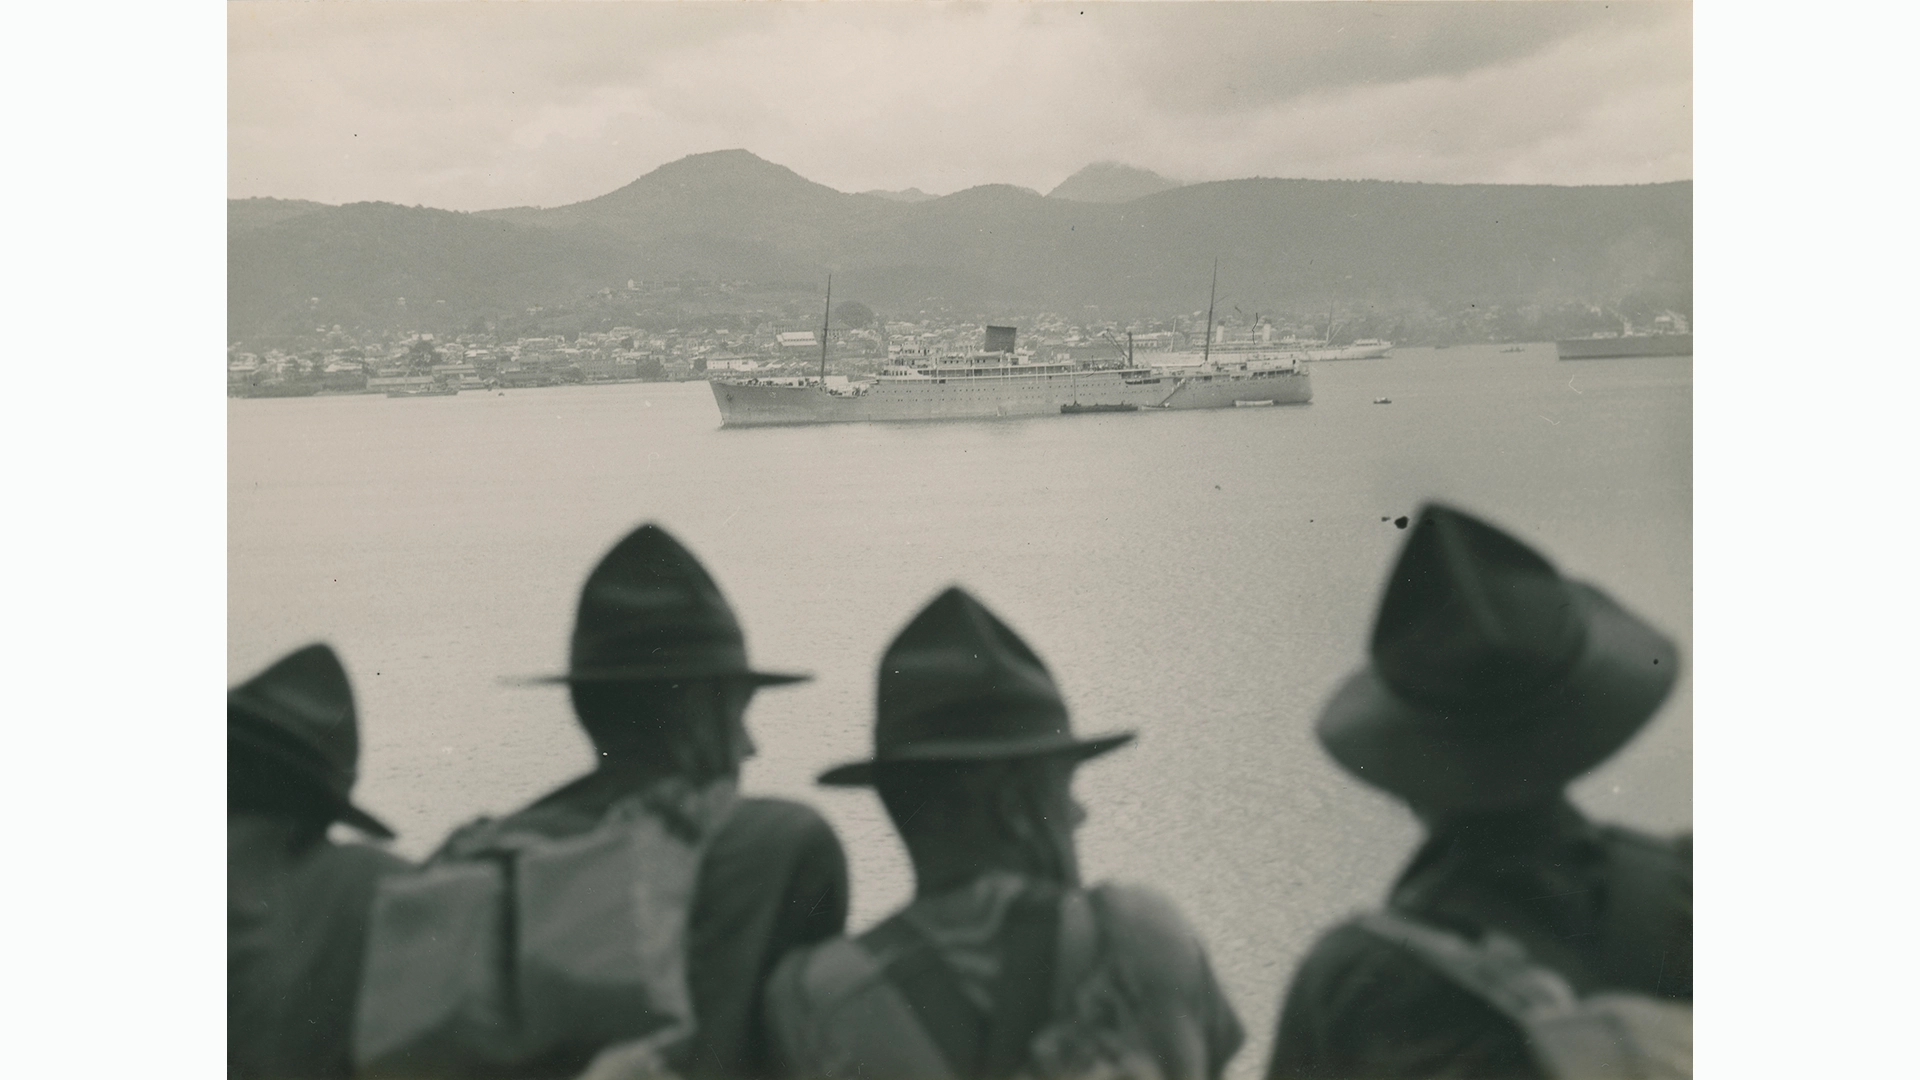
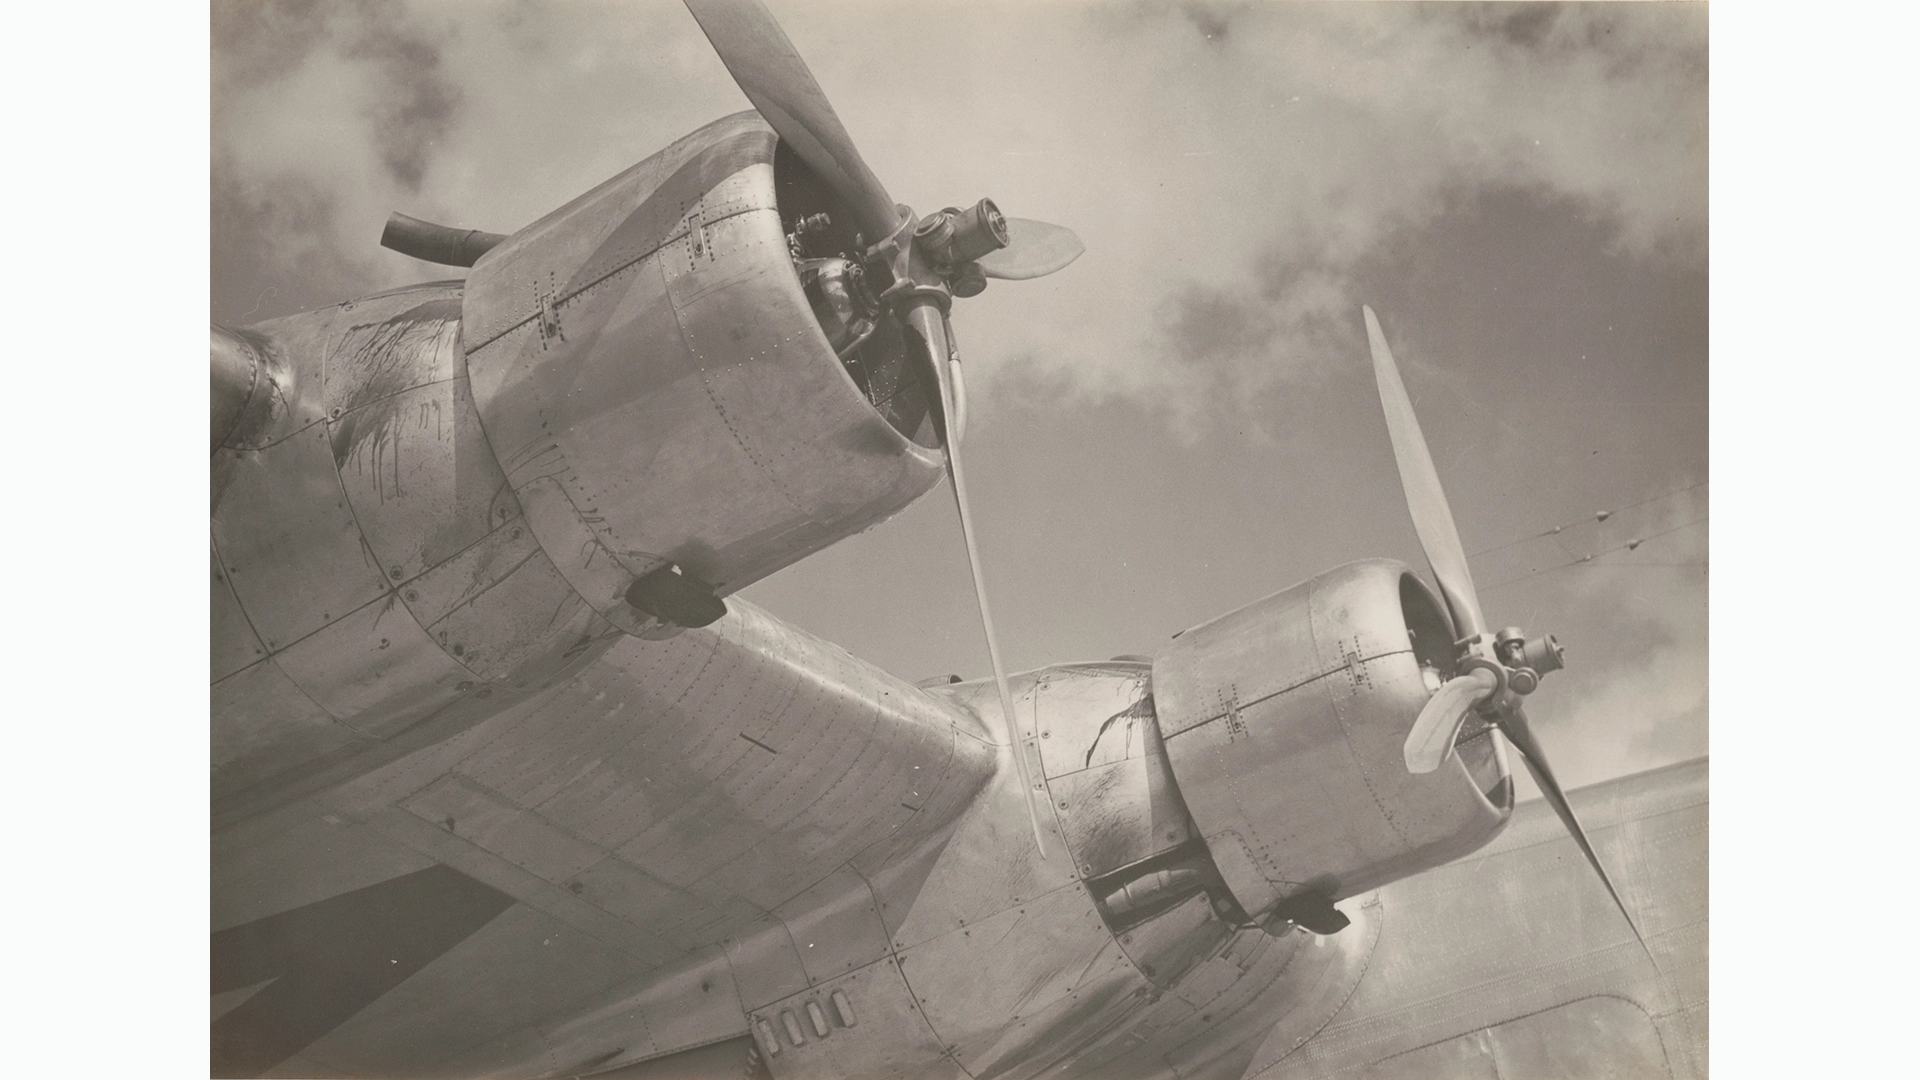
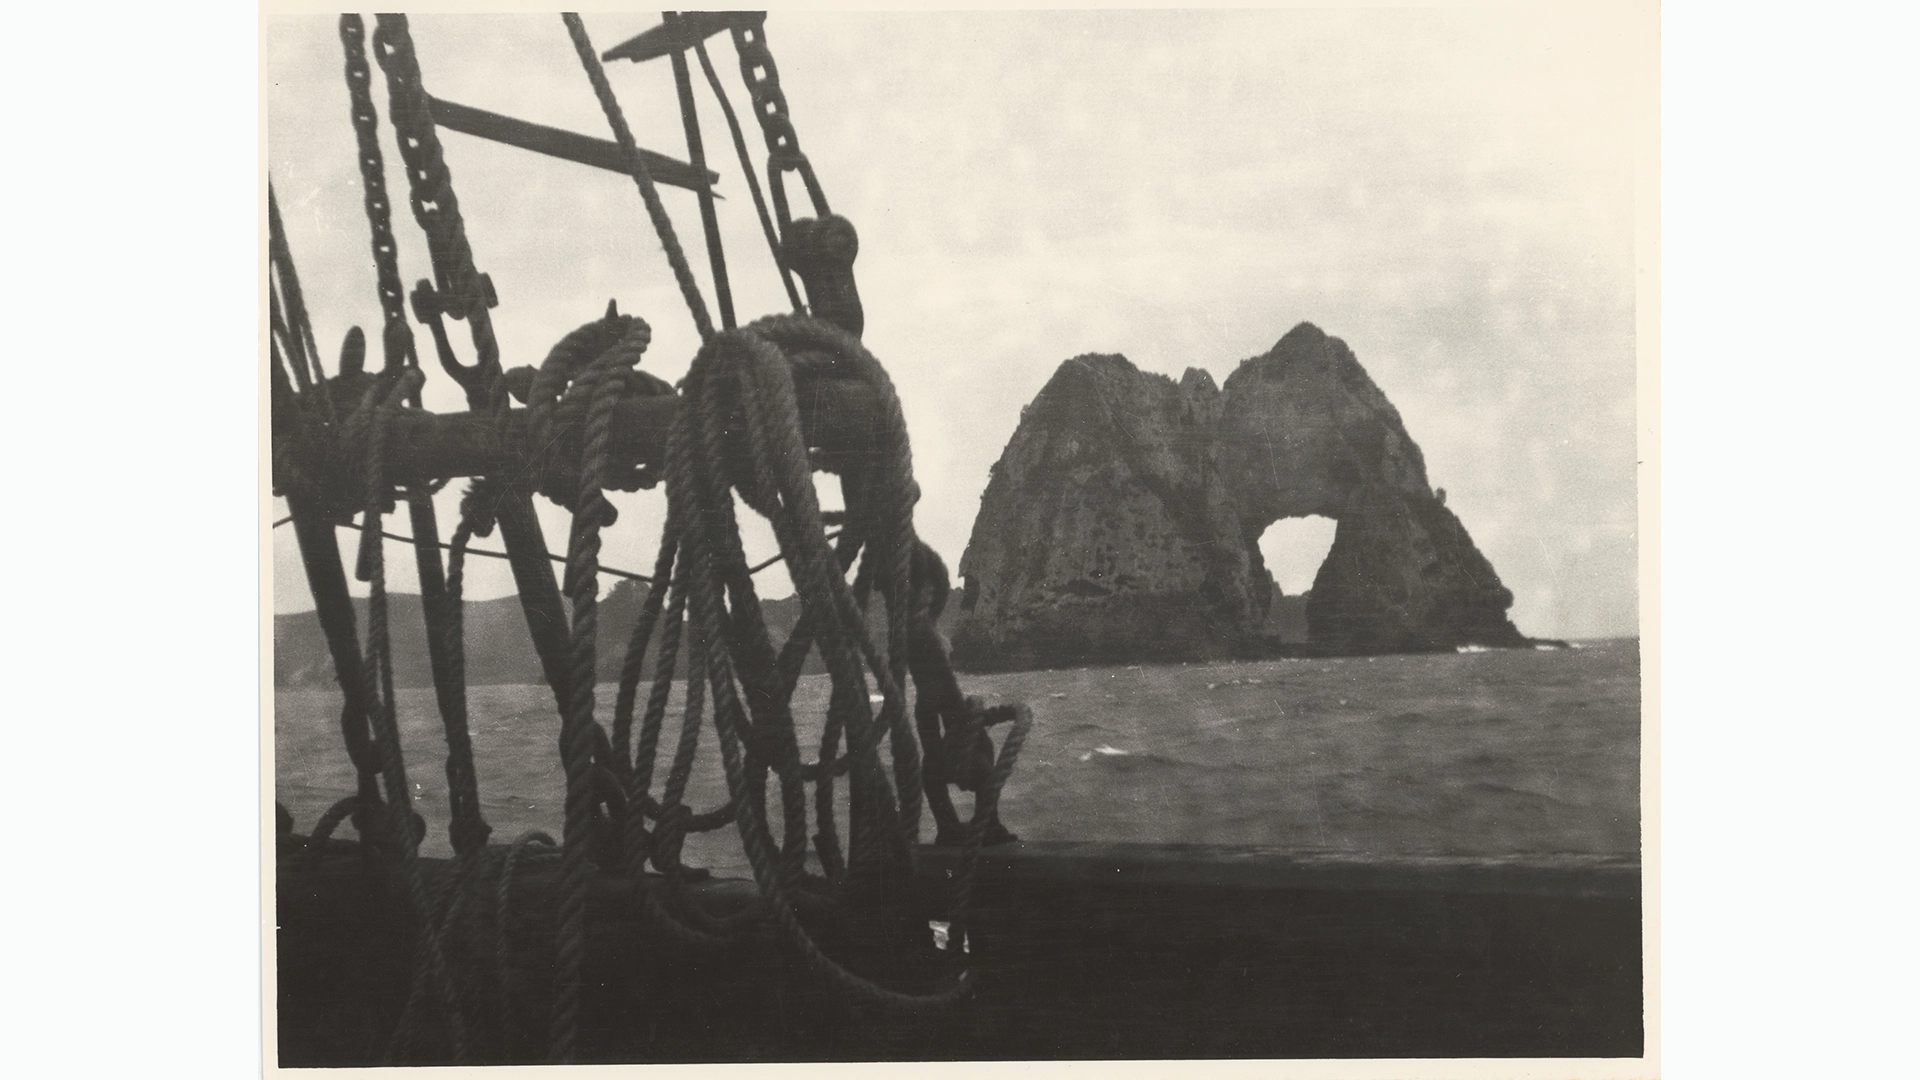
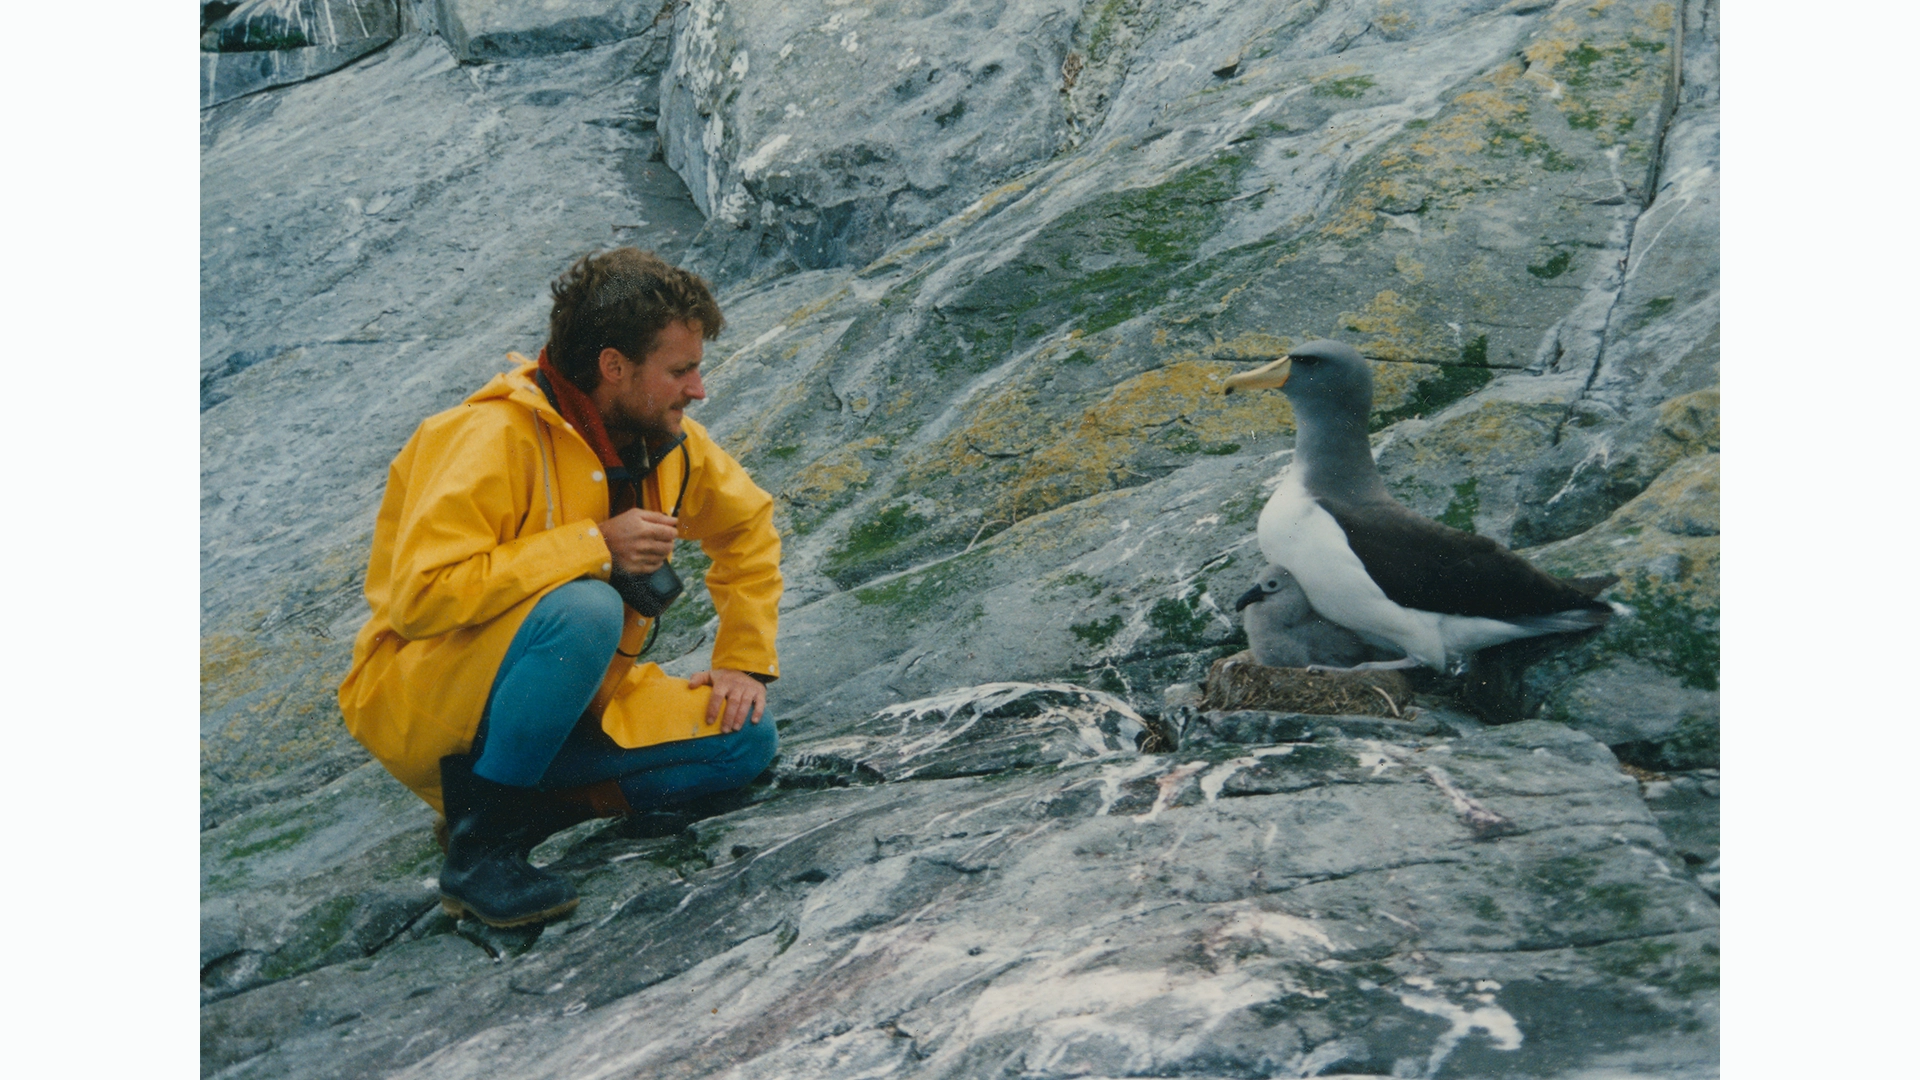
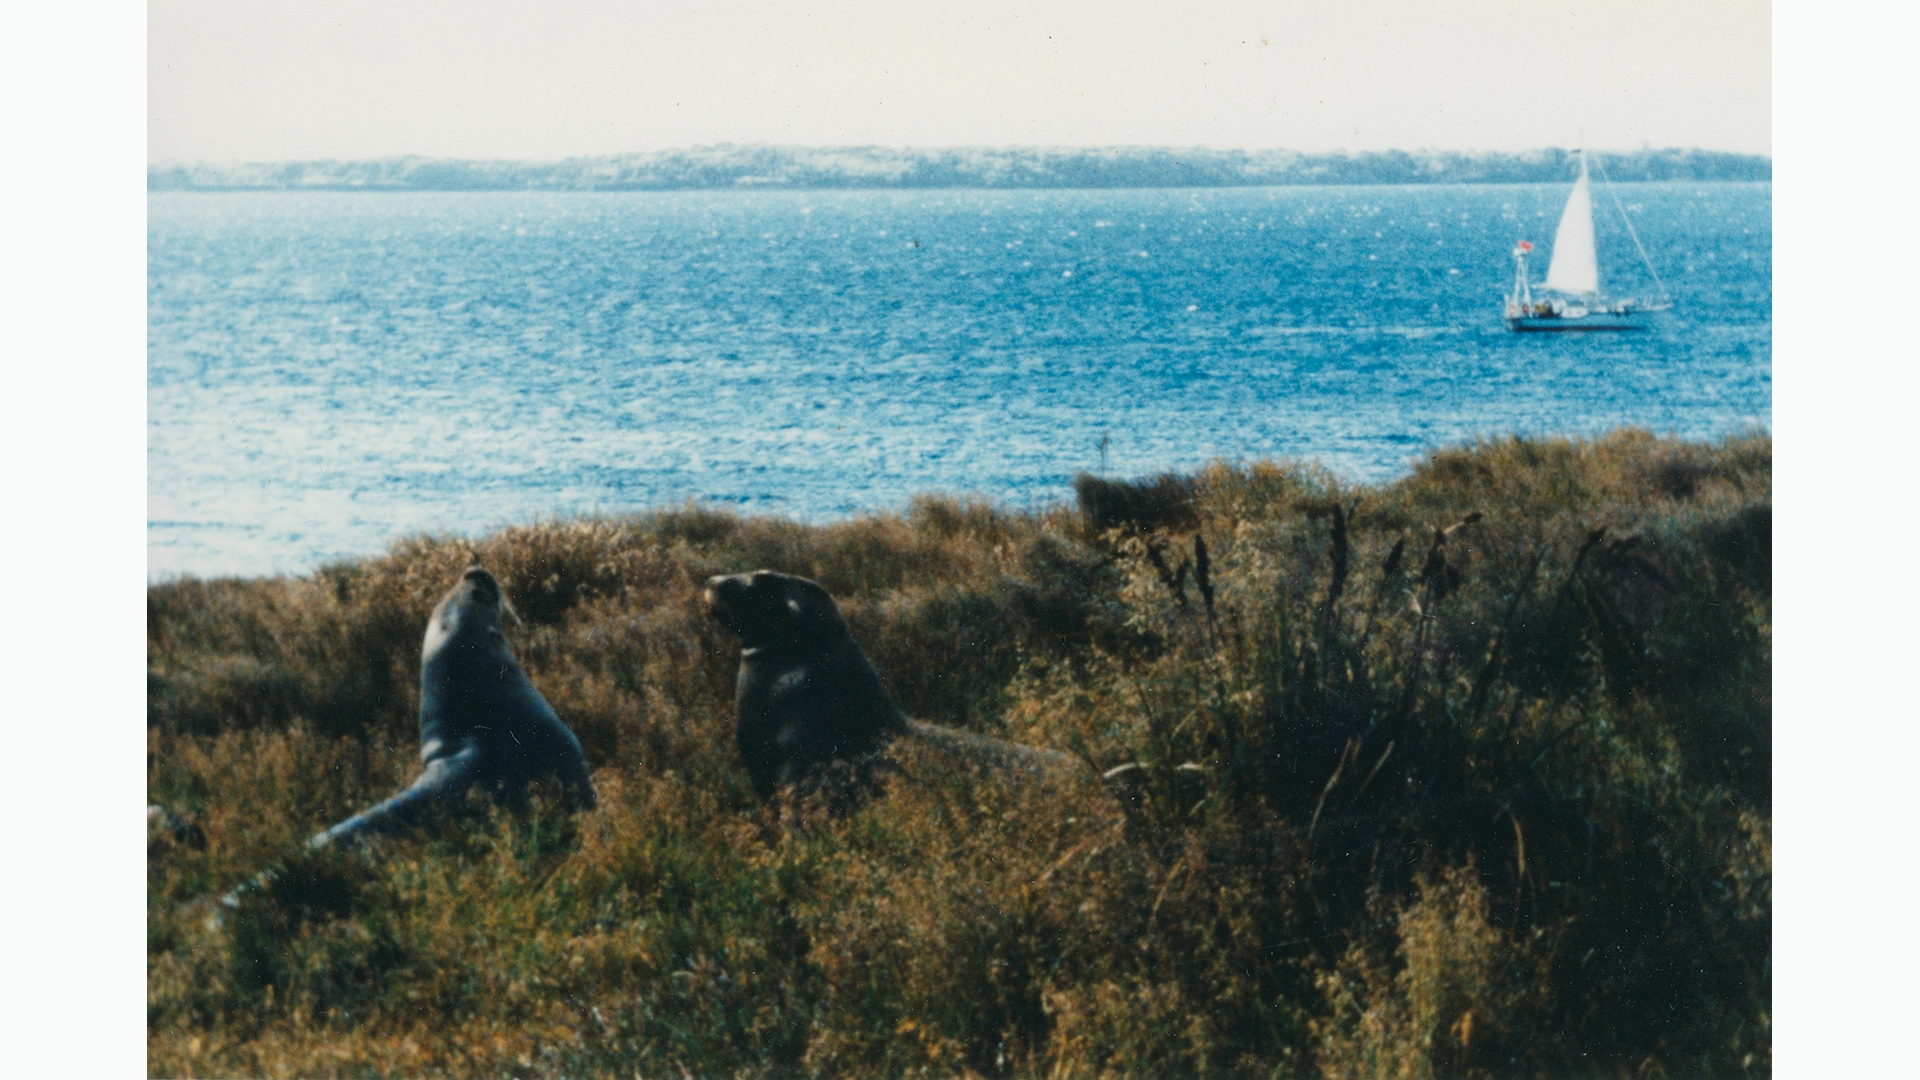
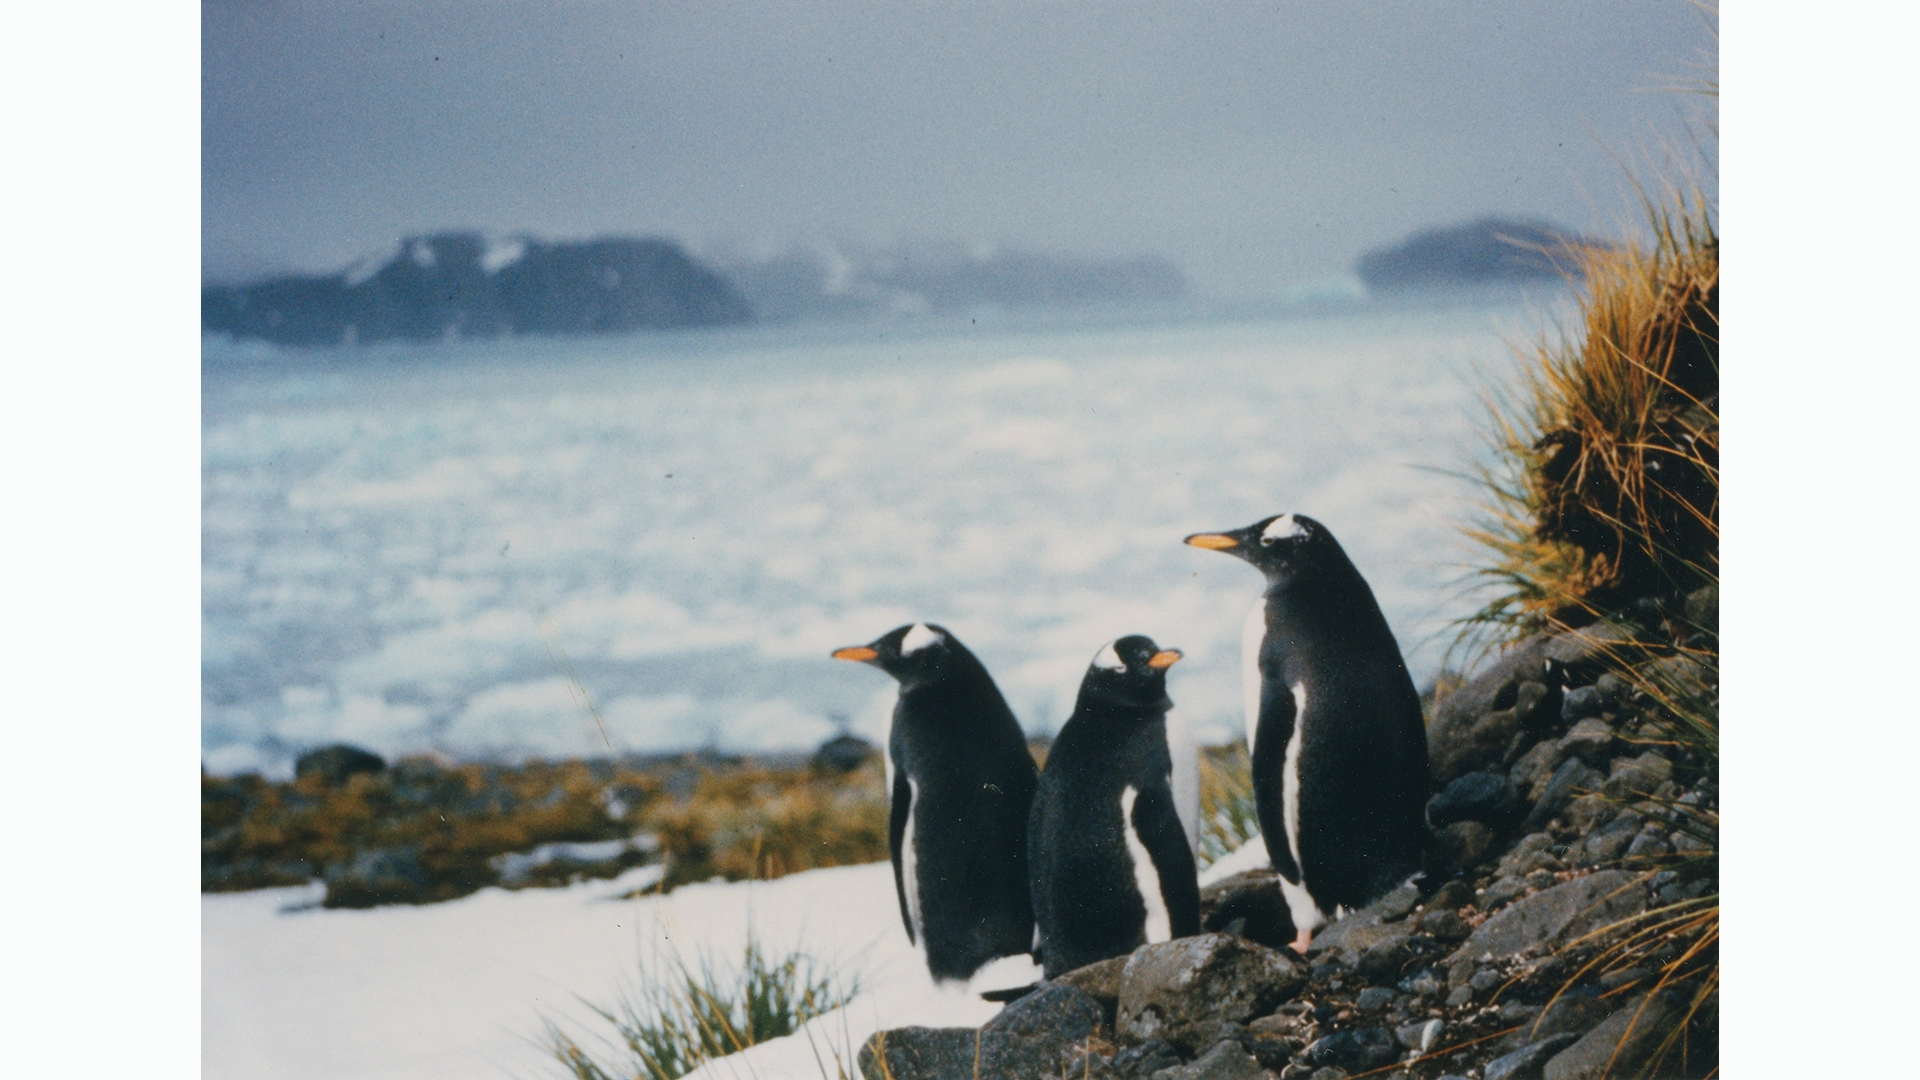
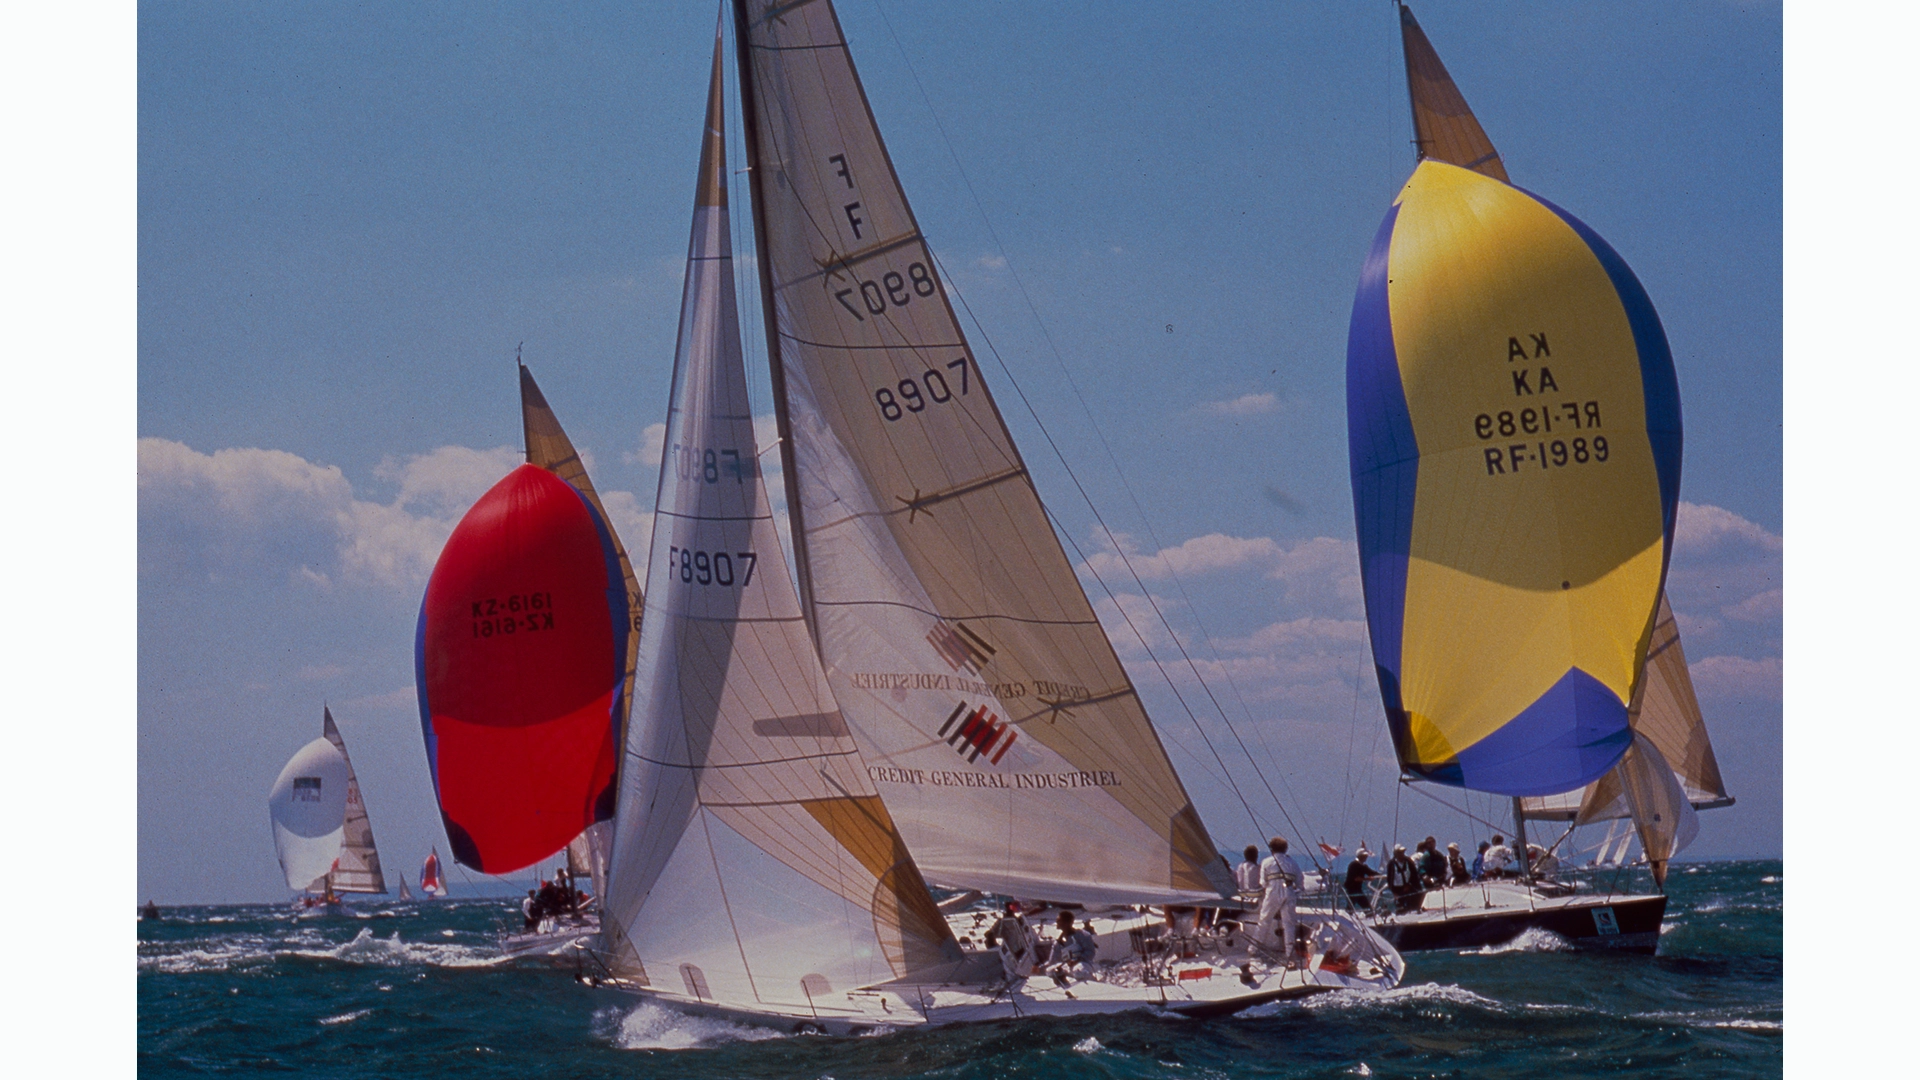
A collection of photographs was also scanned and catalogued from the home office to help introduce variety to the workstream. 

As with any non-ideal circumstance, continuing to digitise from home, although necessary, came with its own complications. Not only was the output speed slower, but there were also problems with connectivity, lack of digital storage space, pandemic distractions and cats. At one point, when storage space was an issue, there were a few weeks where digitisation could not continue from home while we waited for our new hard drives and external storage to be shipped. We were up and running again thereafter!


Post-Processing and Technical Specifications for File Exports

We use Adobe Lightroom Classic to process all our images. Photographs are either processed at the time of import with a pre-set or in the development tab. As we shoot in RAW, all the images are sharpened, because RAW files require this. We ‘enable profile corrections’, which corrects the barrel distortion created by the lens of the camera. The white balance is set to match the colour temperature of the lights and any colour cast from light bouncing off walls etc. The images are then tagged with a selection of keywords: Photographed by/Digitised by, Maritime History, and New Zealand Maritime Museum.

File names are written at point of capture for both scanning and photography. The file names are the museum registration number associated with the object, which links back to the collection database record. If need be, the files can be renamed, singularly or in bulk, through the library tab in Lightroom. Sometimes our sequential numbers may need re-ordering which is when bulk renaming comes in handy!

Once post-processing is finished, all our files are exported from Lightroom. The file formats exported can vary depending on the object photographed. We mainly export an original file for the digital archive, a JPEG image for linking to the database record and Collections Online, and a TIFF file, either 8-bit or 16-bit. A DNG file or a reduced TIFF file can also be exported, again, depending on the objects imaged.

Our general export settings and file specifications are as follows:

Original for archive

  • File settings: Image format original
  • No settings changed upon export
  • Exports the CR2 RAW file if photographed and TIFF file if scanned
  • Used for all object/Archive types

JPEG for Vernon (CMS), in-house, researchers

  • File export JPEG
  • sRGB colour space
  • 3000 pixels along longest side, ‘don’t enlarge’ box is ticked
  • Output sharpening: sharpen for screen, amount: low
  • Exports one JPEG file
  • Used for all object/Archive types

Adobe DNG

  • File export DNG
  • Medium JPEG preview
  • Compatibility with Camera Raw
  • Embed fast load data
  • Used for artworks and objects that have been photographed

8-bit TIFF

  • File export 8-bit TIFF
  • No file compression
  • sRGB colour space
  • Used for paper-based archives

16-bit TIFF

  • File export 16-bit TIFF
  • No file compression
  • Adobe RGB colour space
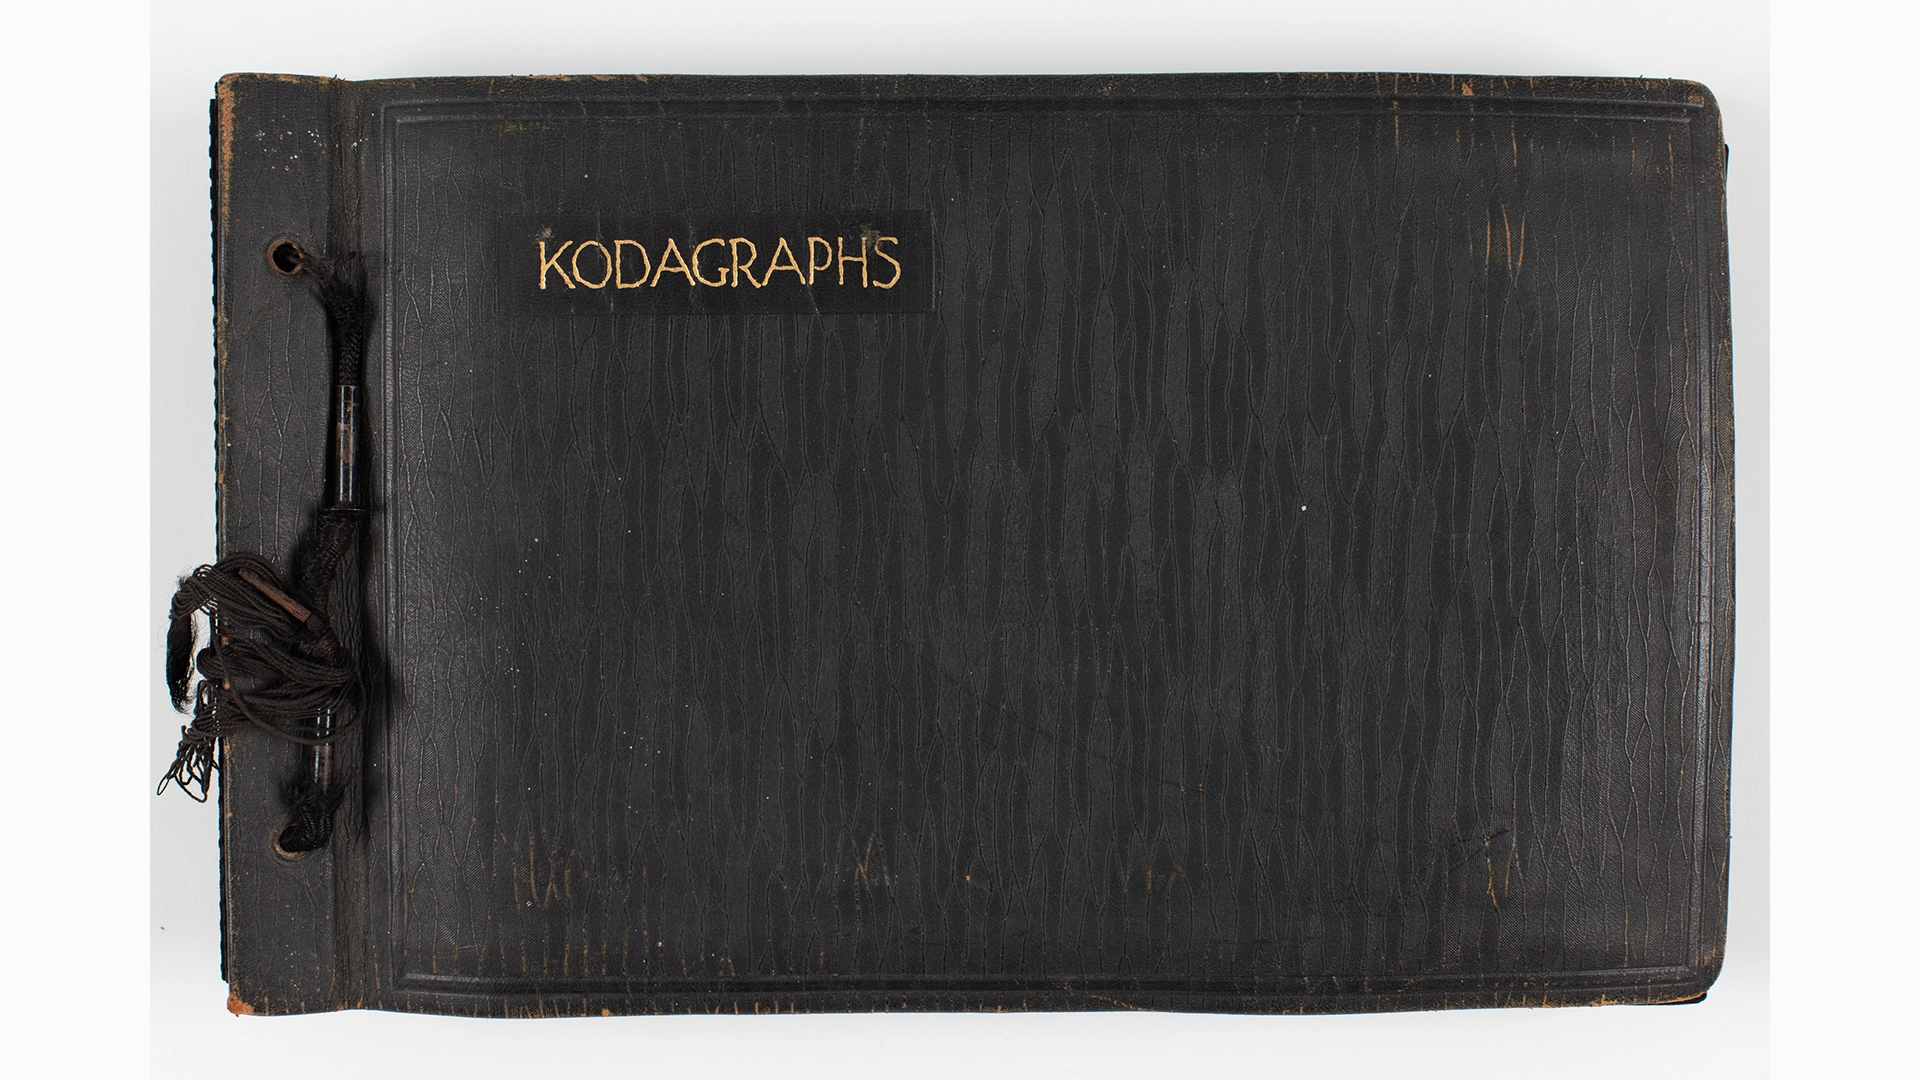
  • Used for objects (artworks, albums, medals, etc.)

Reduced Quality 8-bit TIFF, High volume

  • File export 8-bit Tiff
  • No file compression
  • sRGB colour space
  • 5000 pixels along longest side, ‘don’t enlarge’ box is ticked
  • Output sharpening: sharpen for screen, amount: standard
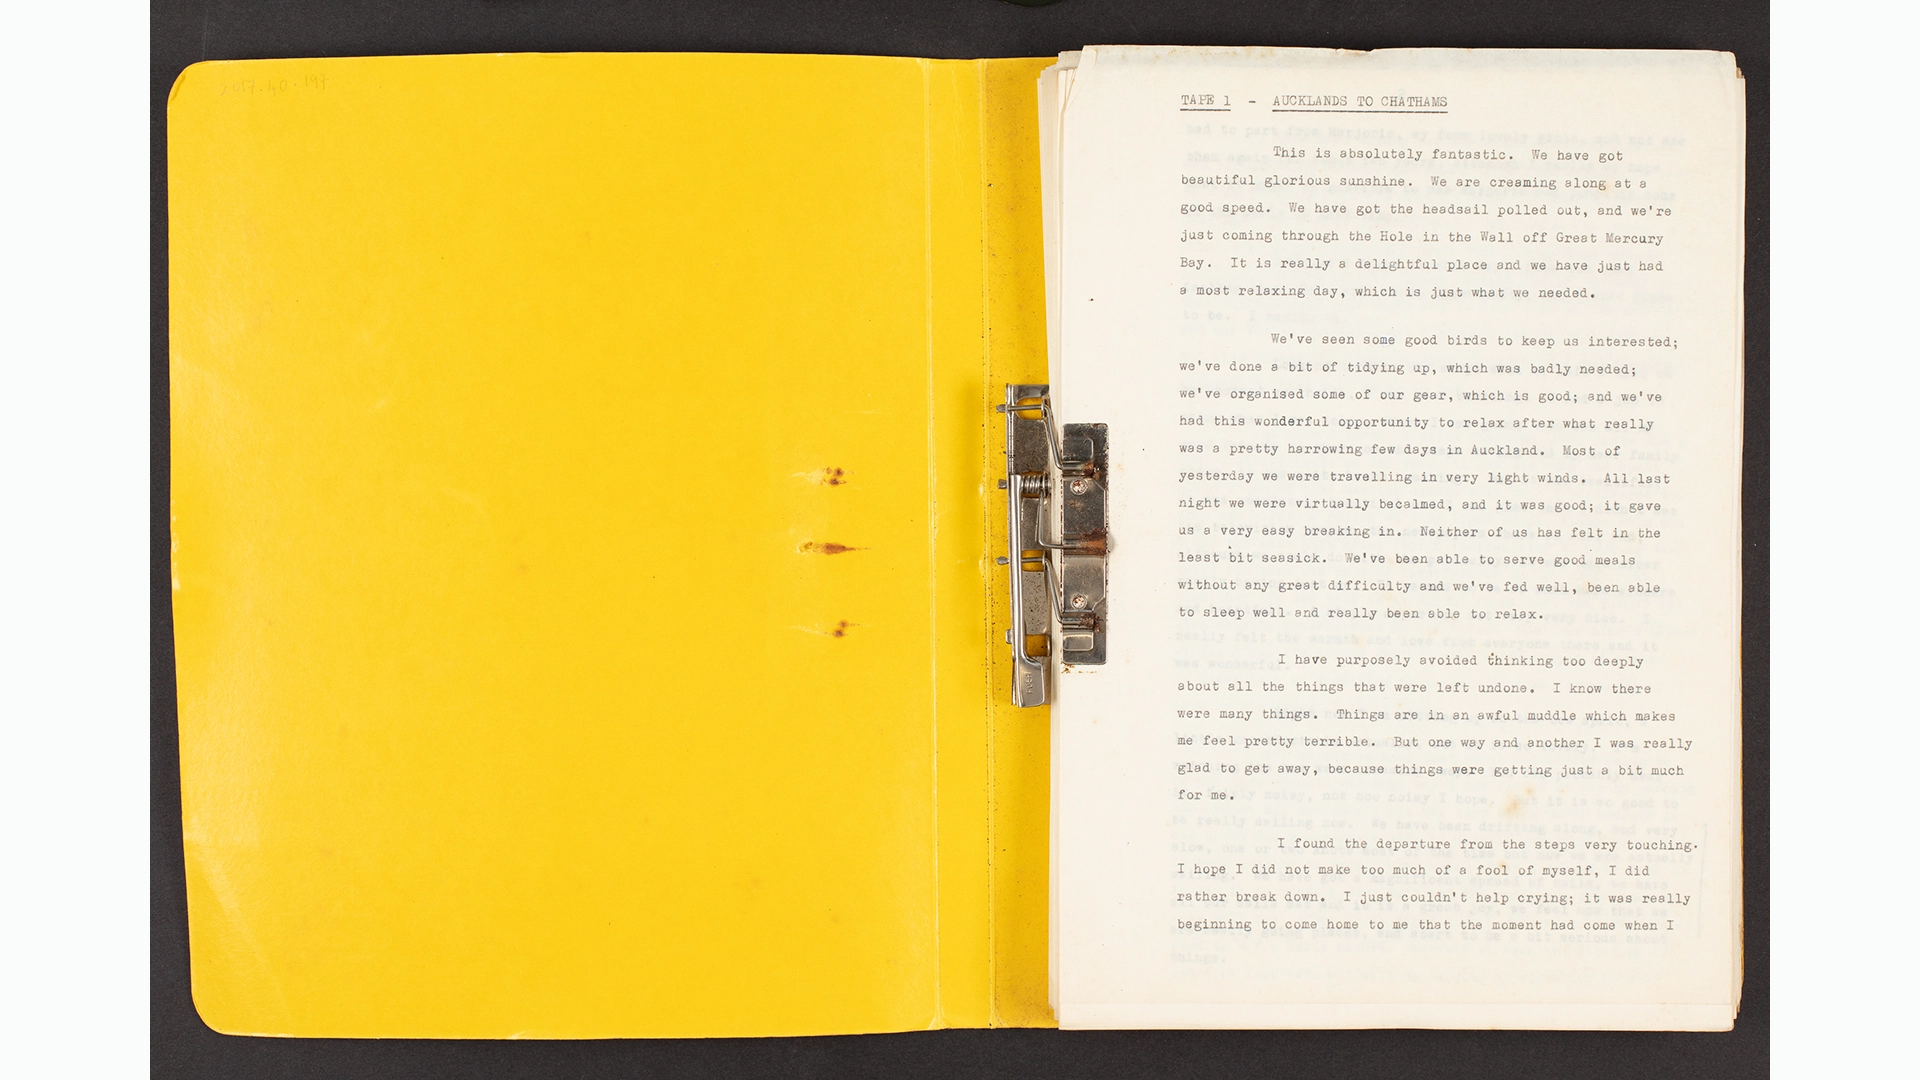
  • Used for 100+ page manuscripts, records, logbooks etc. High volume where whats written on the paper is what’s important and the media/paper/material has less value.

Reduced Quality 8-bit TIFF, Lower quality suitable for reproduction at paper’s original size or smaller (aprox A4 and Foolscap),

  • File export 8-bit Tiff
  • No file compression
  • sRGB colour space
  • 3600 pixels along longest side, ‘don’t enlarge’ box is ticked
  • Output sharpening: sharpen for screen, amount: standard
  • Used for Auckland Harbour Board Records, tens of thousands of pages of paper saved at a lower file size to take up as little digital storage space as possible whilst still being a readable surrogate.

Reduced Quality 8-bit TIFF, Lower quality suitable for reproduction at index card size or smaller

  • File export 8-bit Tiff
  • No file compression
  • sRGB colour space
  • 2000 pixels along longest side, ‘don’t enlarge’ box is ticked
  • Output sharpening: sharpen for screen, amount: standard
  • Used for Bill Laxon shipping index cards, these cards are small but numerous, reduced file size for storage purposes whilst still being a readable surrogate.

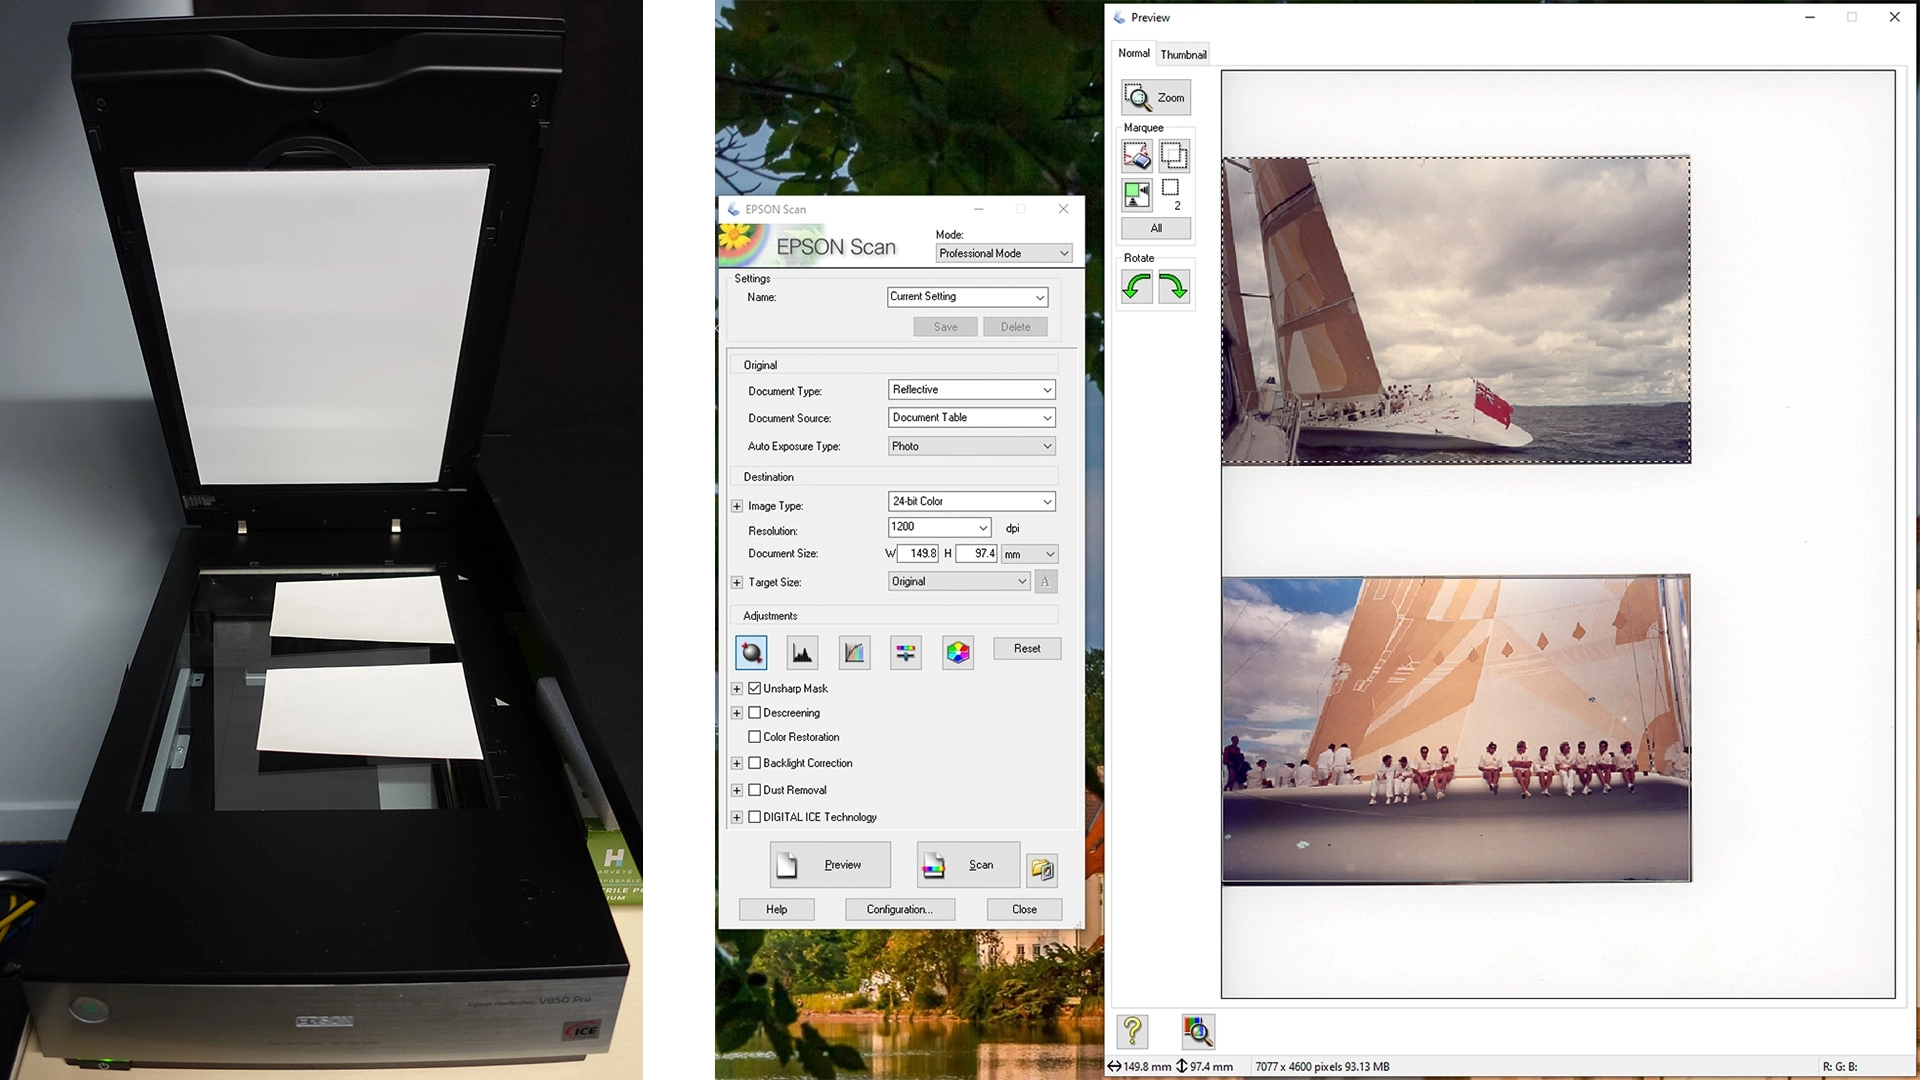
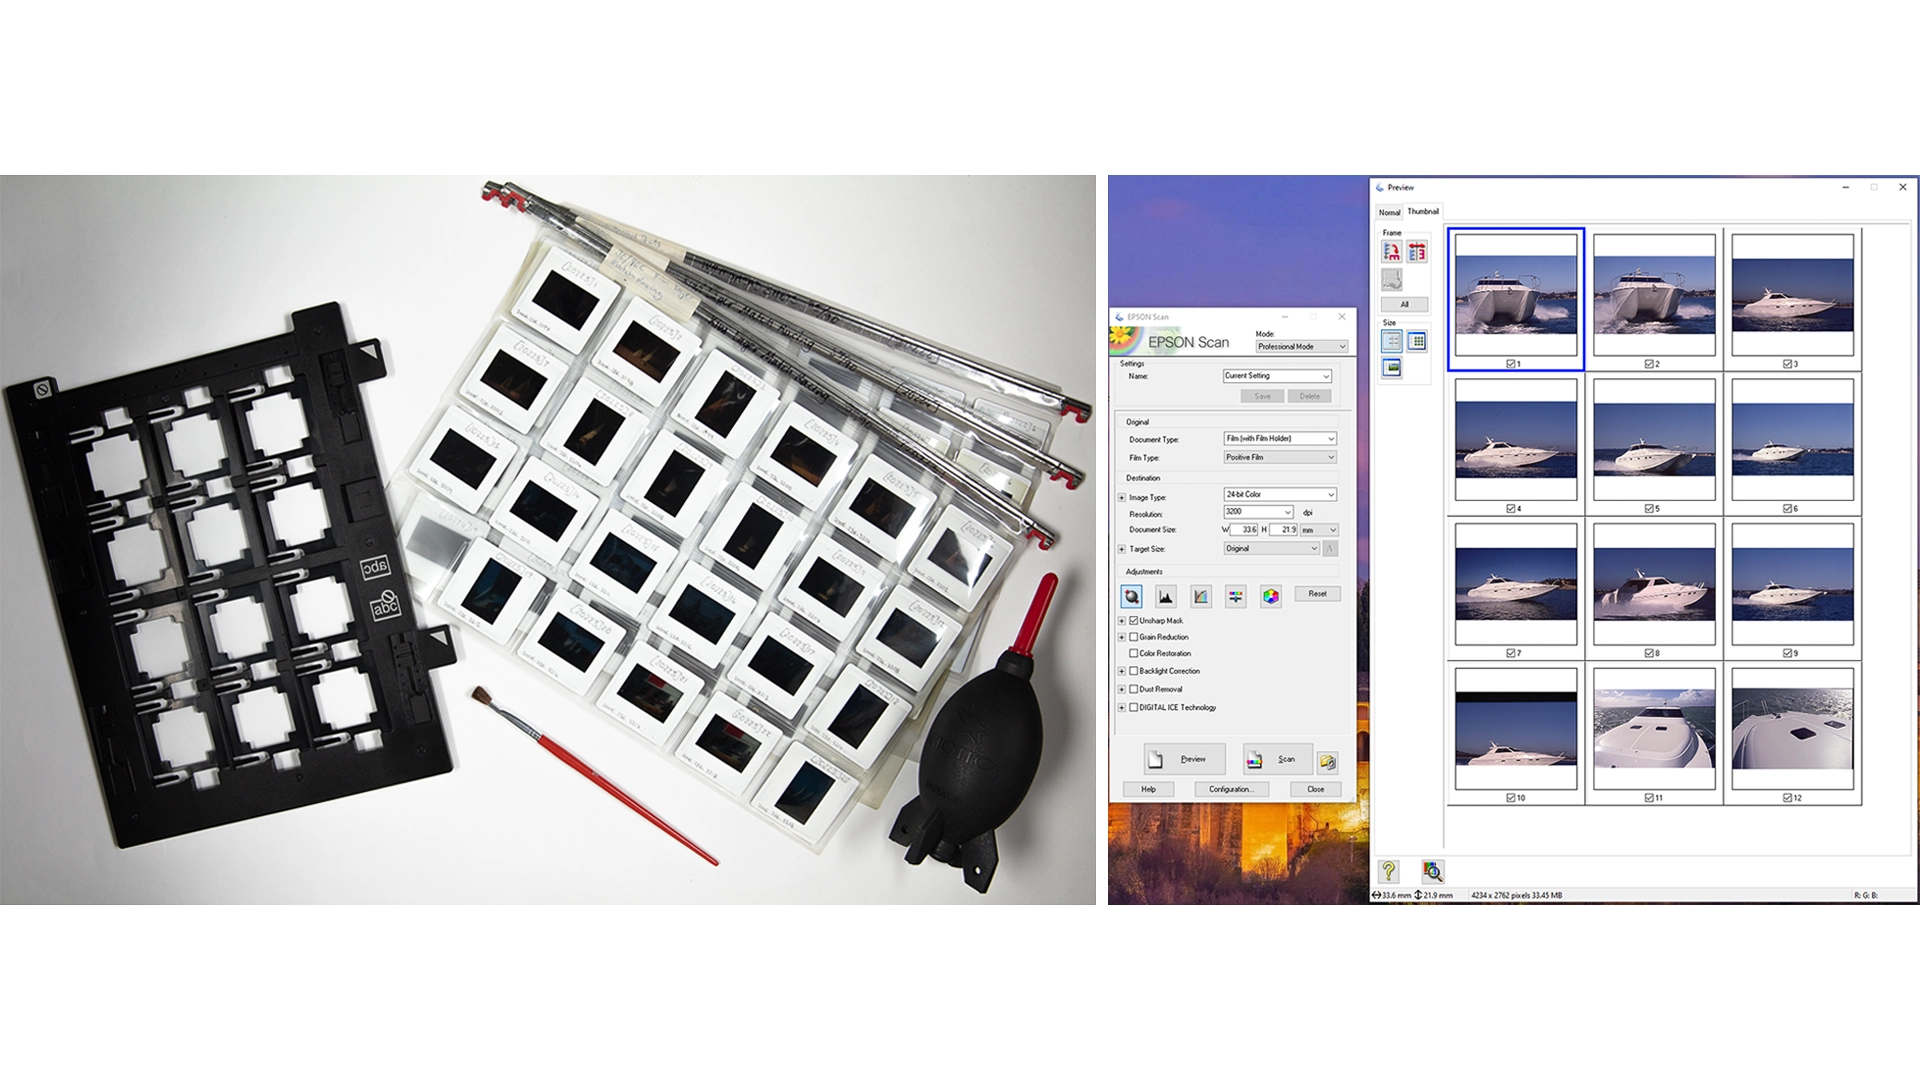
Scanned prints and slides on V800/V850 Epson scanner

  • 24-bit Colour setting
  • Prints – 1200dpi
  • Slides – 3200dpi
  • Scan output is an 8-bit TIFF - Original file and JPEG exported from lightroom

As different objects, archives, and size/space issues occur these specifications are tailored as required.

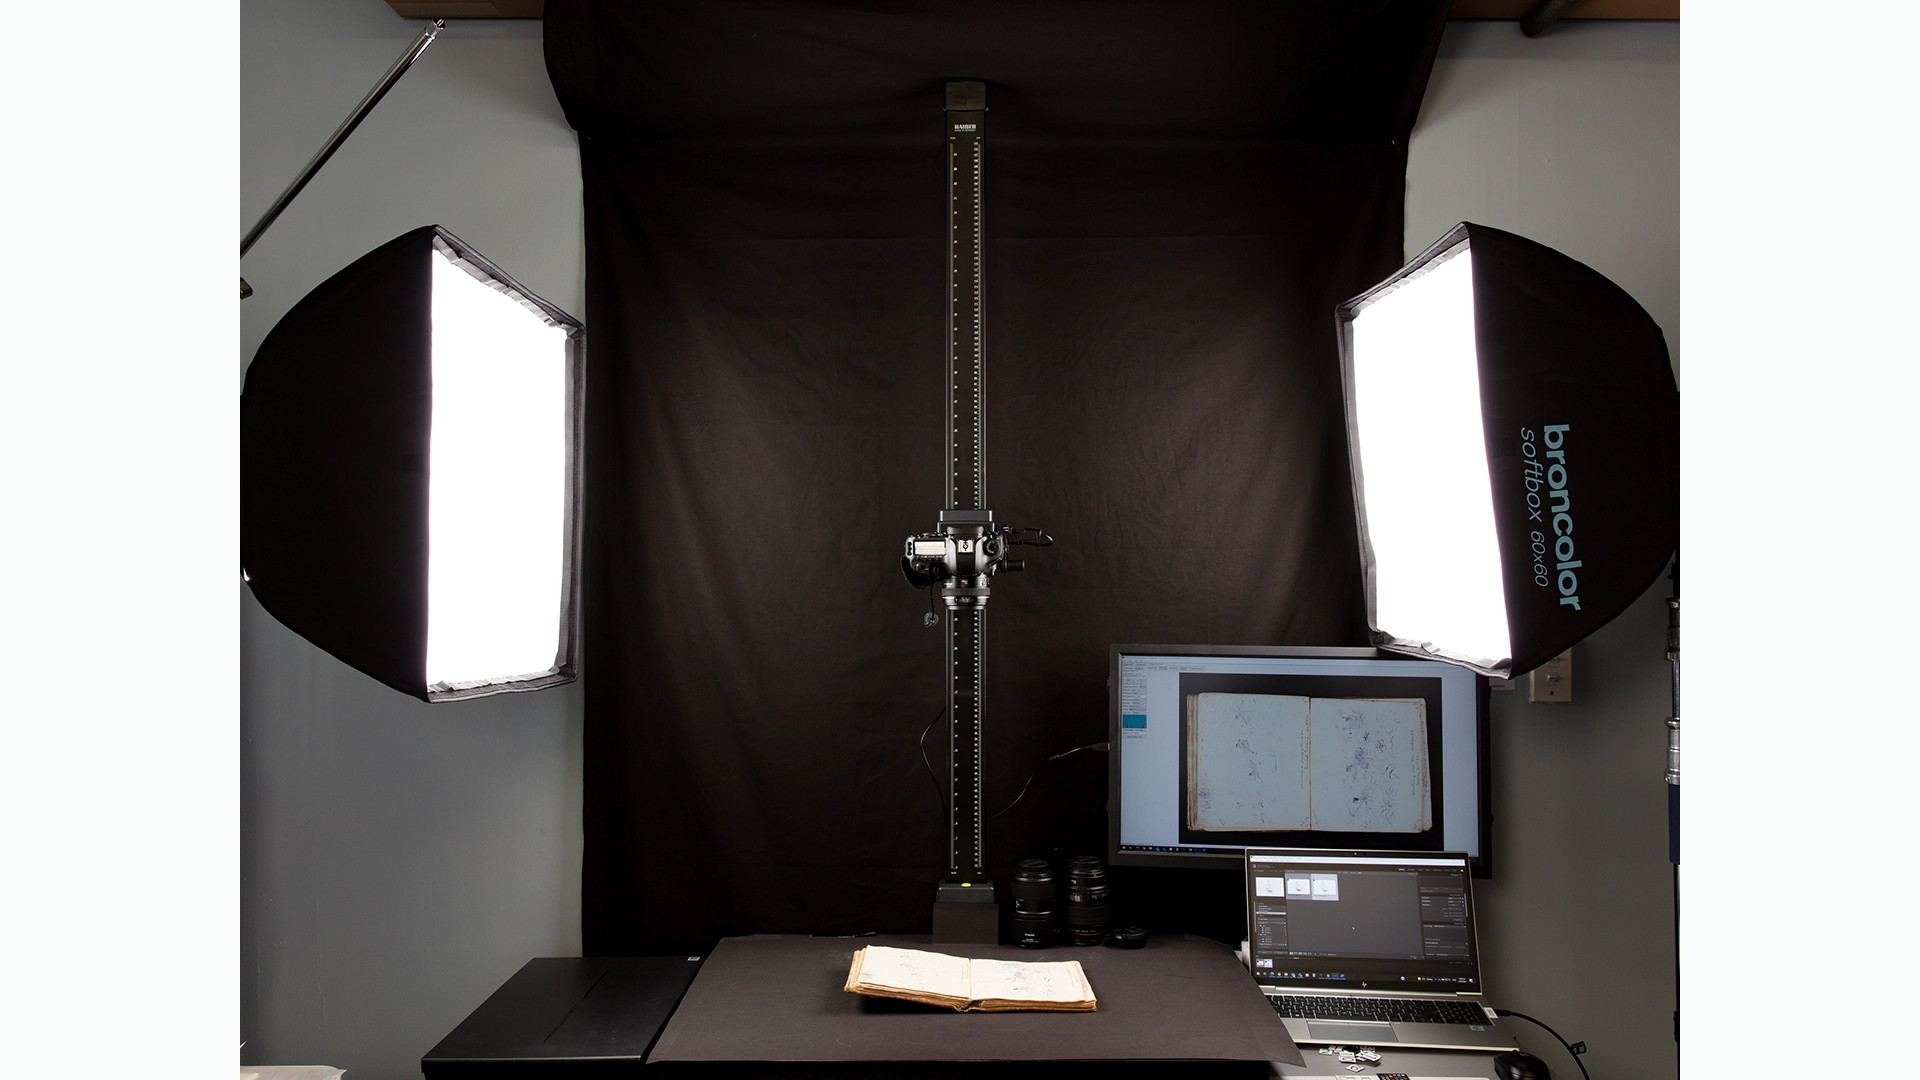
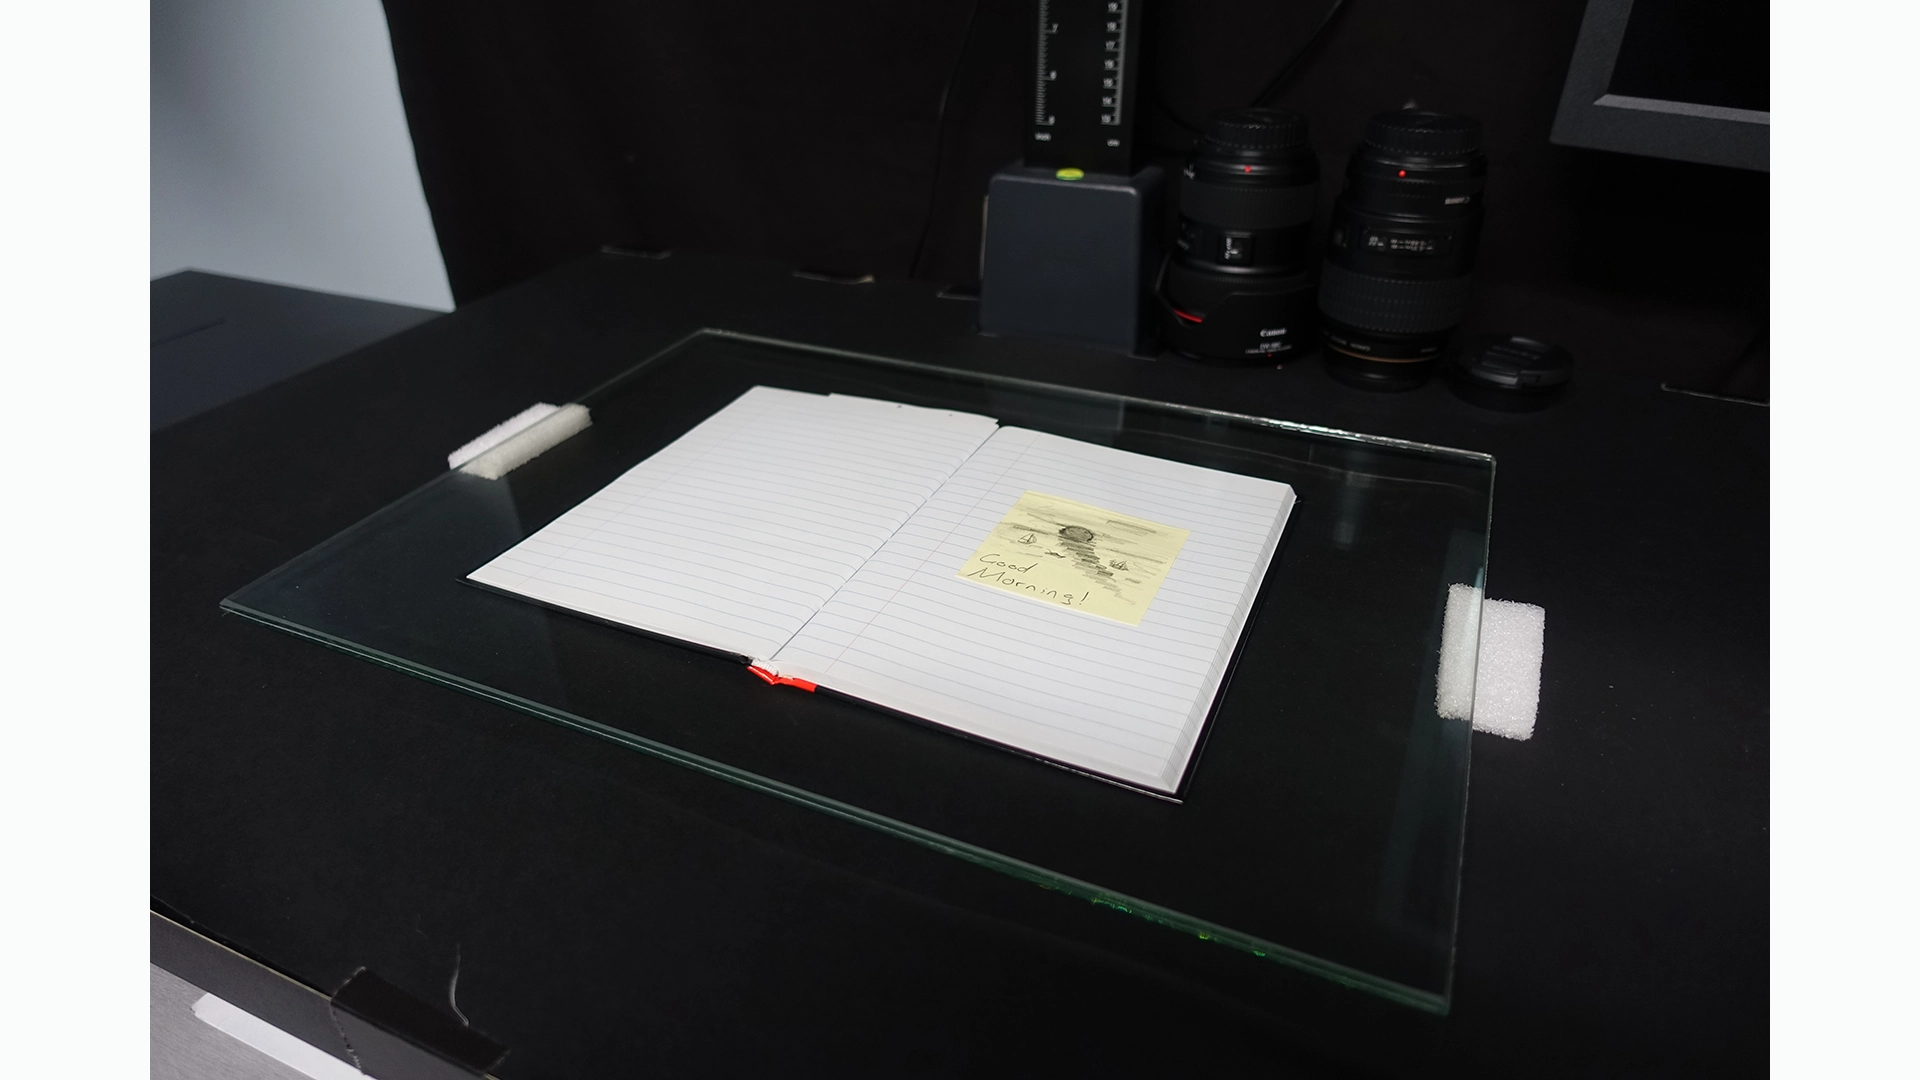
I hope that you, as the reader, have enjoyed this small insight into our 2D copy stand and scanning workflow.

Acknowledgements

I would like to thank the team I work with for their constant support and teachings, I would especially like to thank Andrew for passing on his knowledge and technical expertise, and I would like to thank the wider Collections Team for being open to teaching and learning new things.